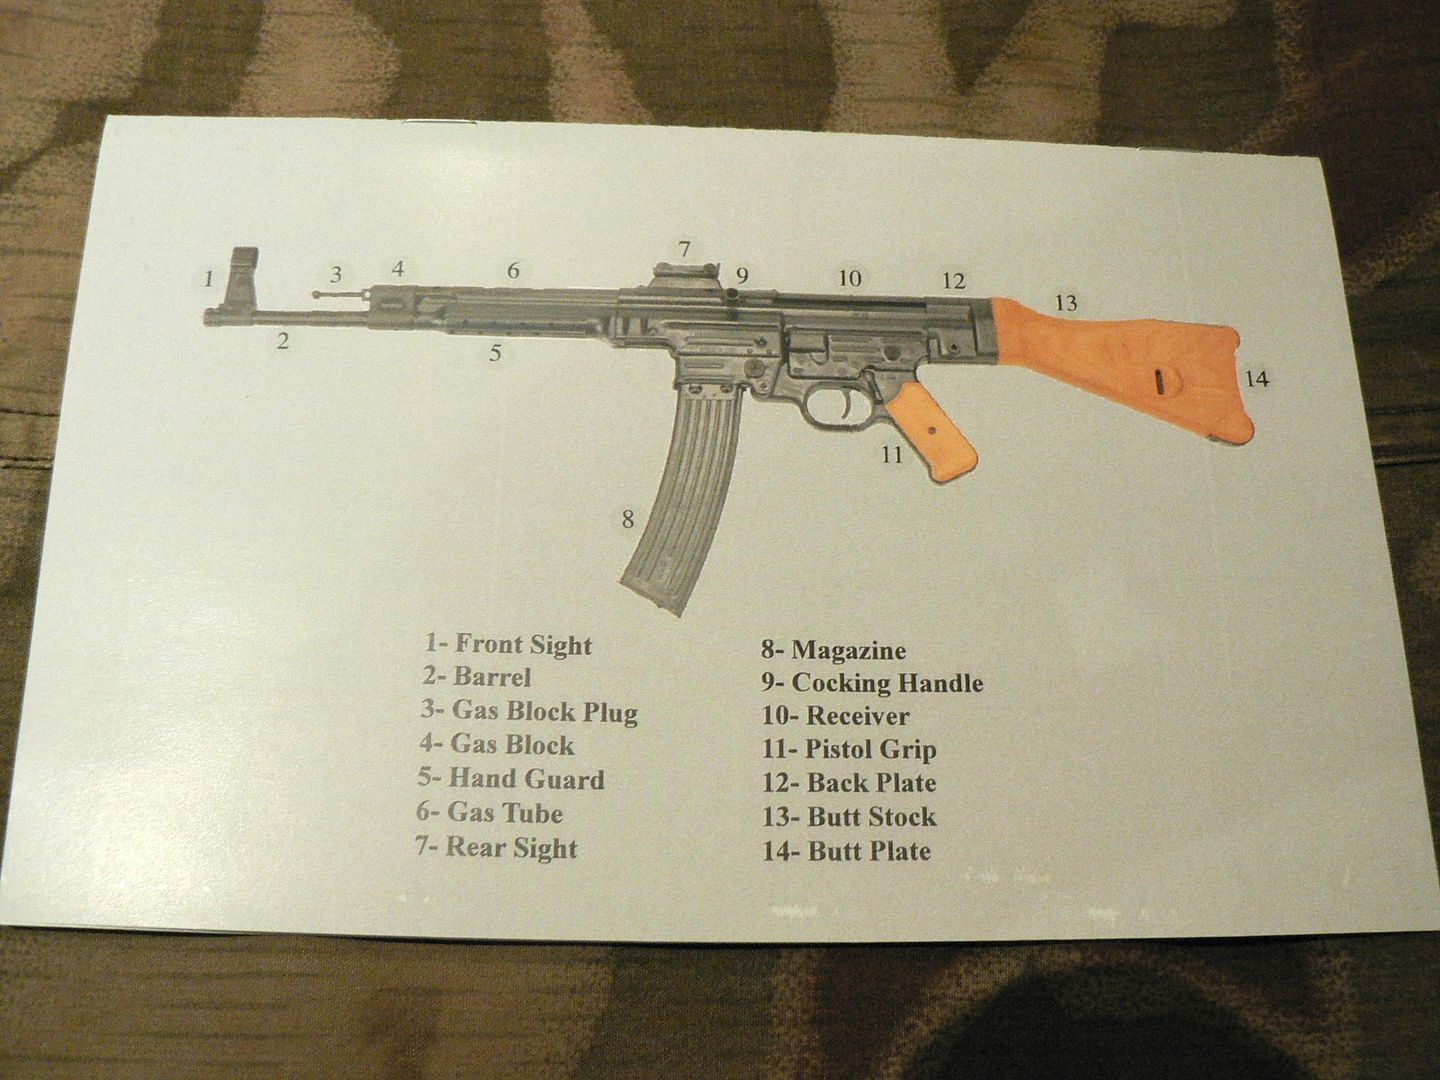
In all of the following pictures, we're only going to look at the rifle as it is now. If you want to compare the various details to how it looked before upgrade, you'll only need to refer back to pictures I've already posted.
ALrighty, here's the rifle after I got home and cleaned it from the range trip:
When I bought this thing, I knew things were going to go wrong with it and I had thought about just sending it out for upgrades right off the bat. BUT, the Wizard told me that I should just shoot it until something broke because I might discover things in the meantime that I wanted done that I might not think of initially. That turned out to be sage advice because by the time the disconnector broke, I had discovered quite a list of things that just weren't right.
We will now go over them one by one starting at the muzzle:
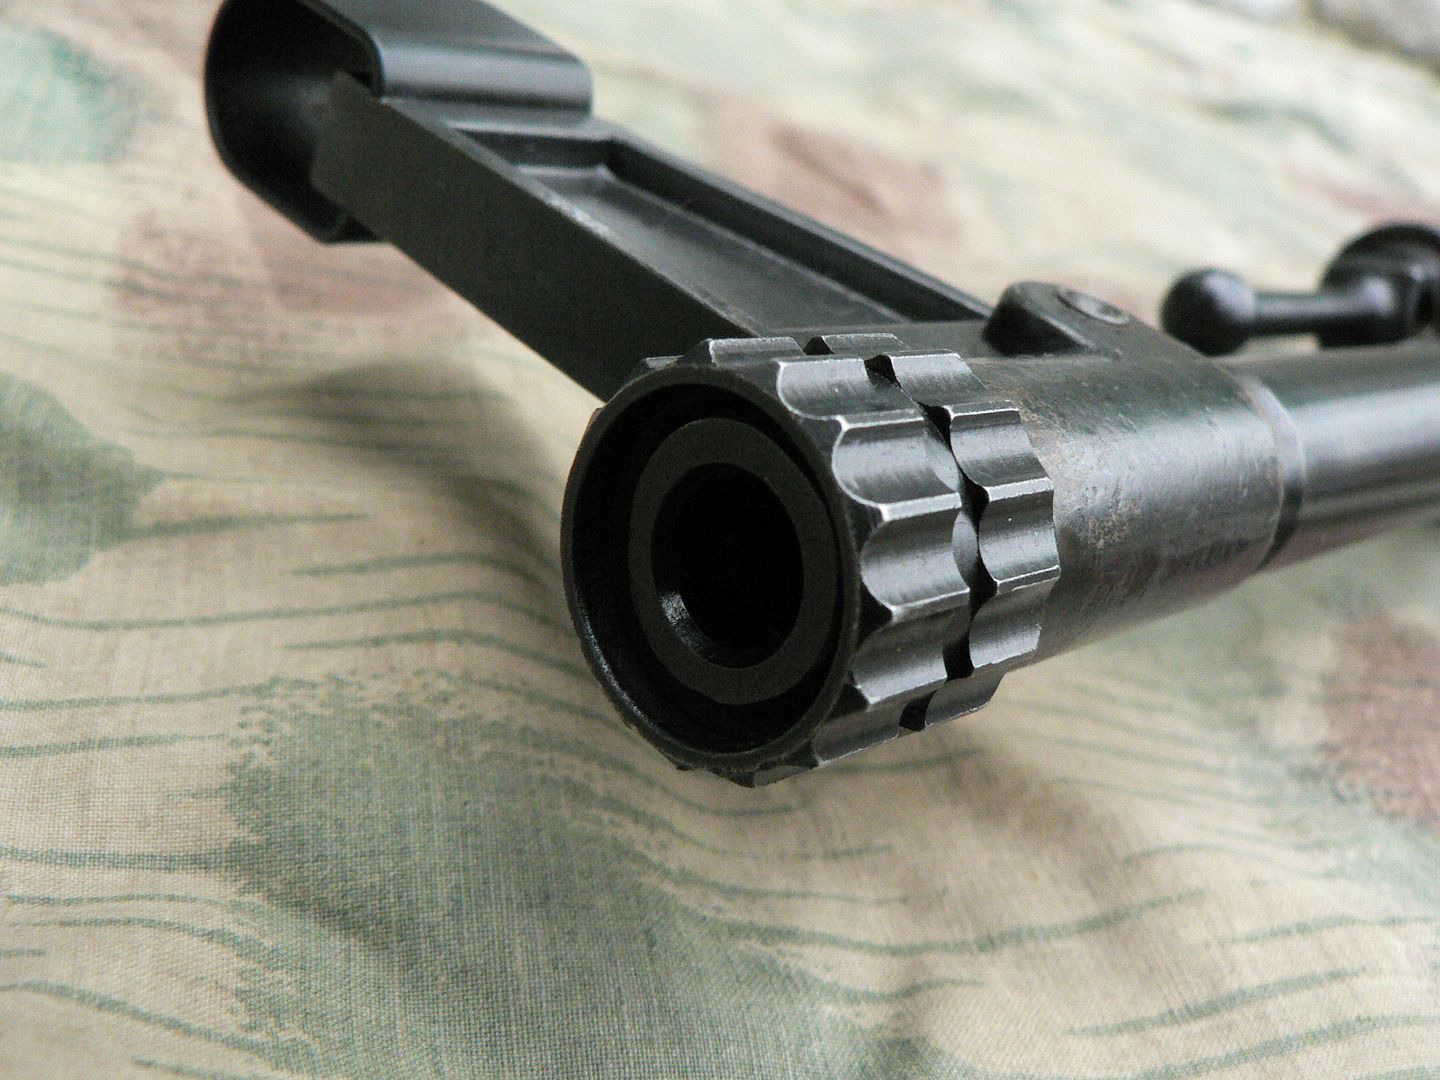
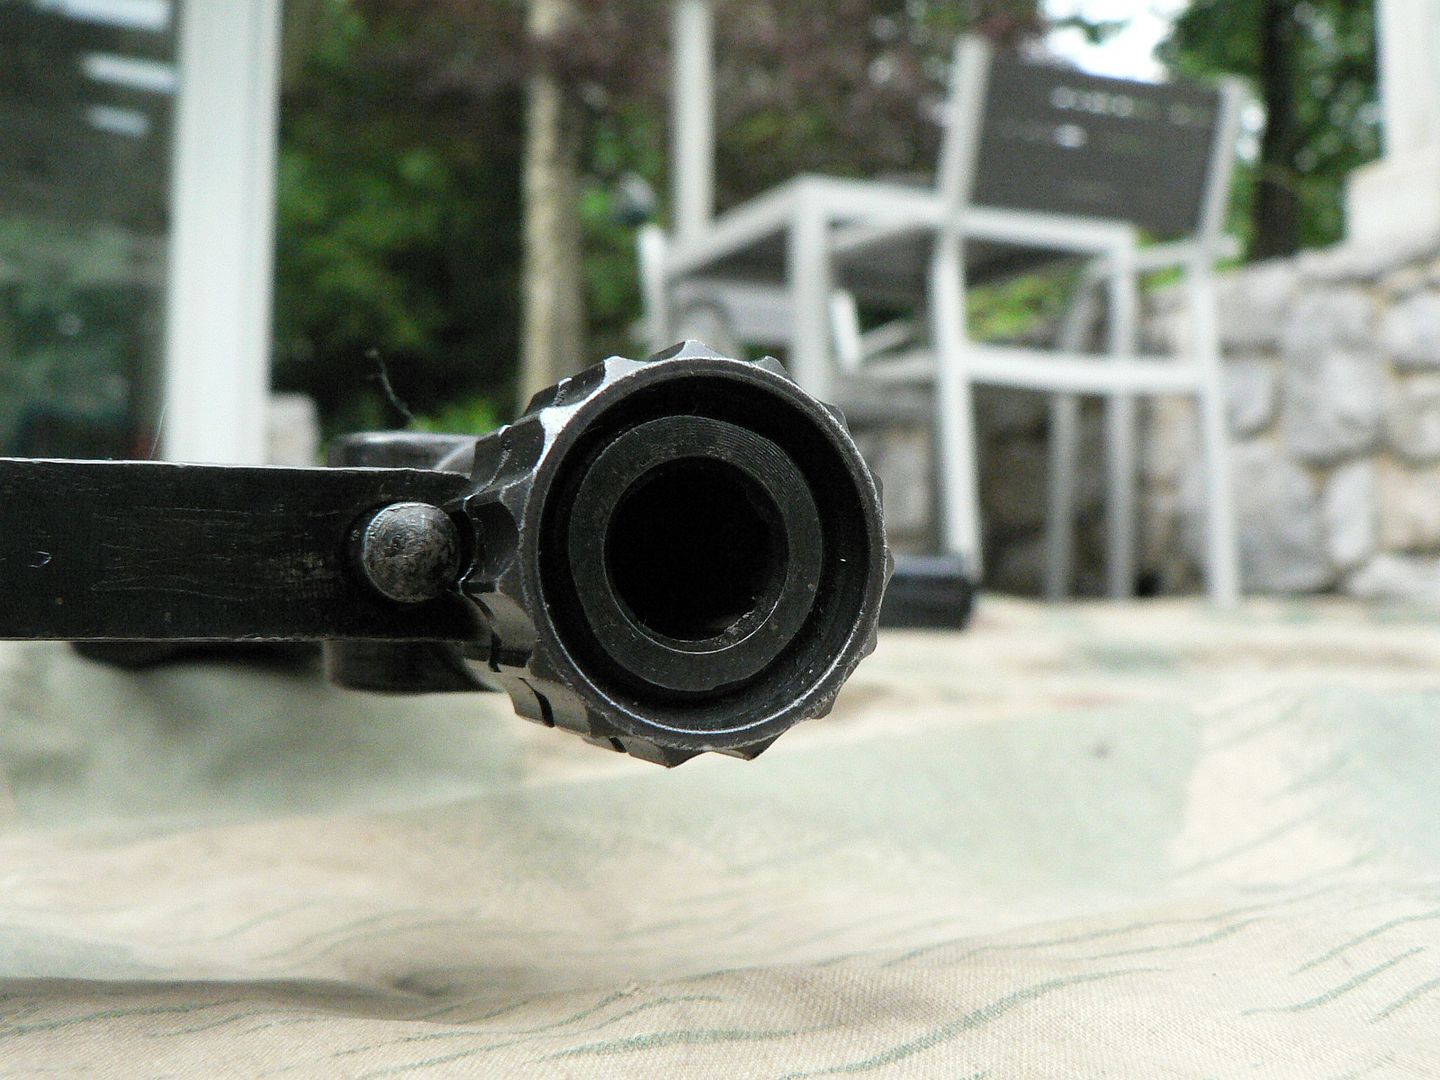
Big deal....it's a muzzle. Welllll, it turned out that it was a big deal. In order for this thing to hit center of target at 100 yards, I had to have the front sight pushed all the way to one side (I forget which). And when I say "all the way", I MEAN all the way. It was hitting the sight hood and there was zero movement left. What was weird was the fact that the sight base appeared to be standing up straight. In order for it to shoot point of aim with the front sight centered, the base would have to be canted so much that it would look silly. Long story short, it turns out that the crown was not cut right. It LOOKED fine but no dice. The picture above shows it after re-crowning.
And here is where the front sight sits in the base now:
I had no problem ringing the gong at 200 yards so it's plenty zeroed for my old eyes.
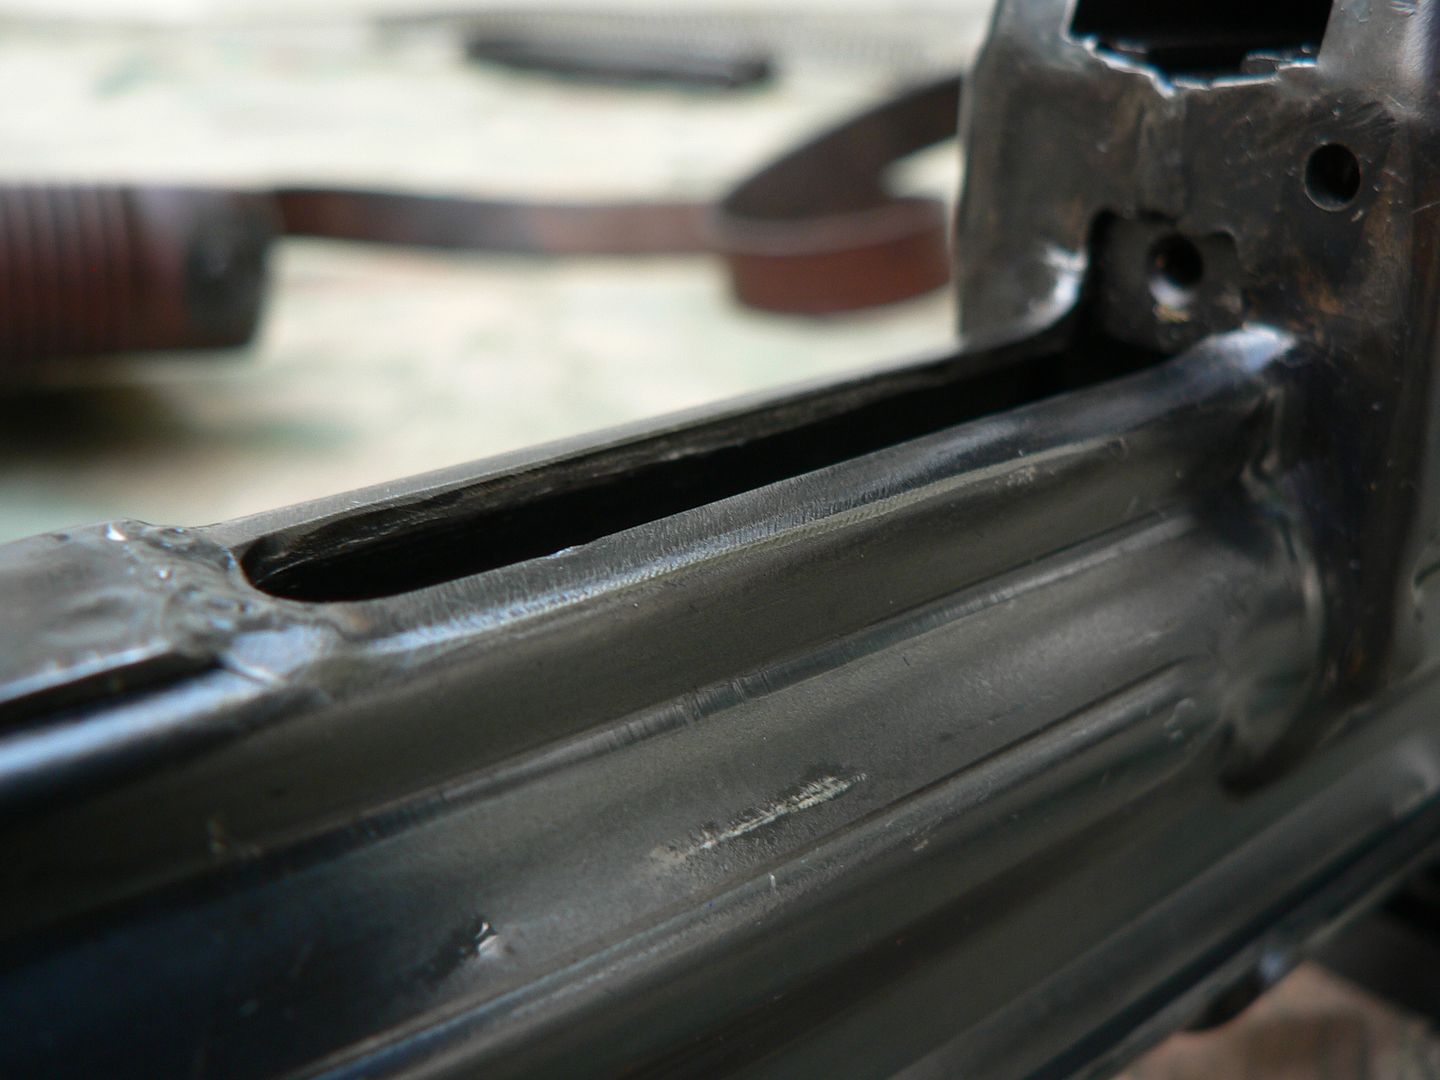
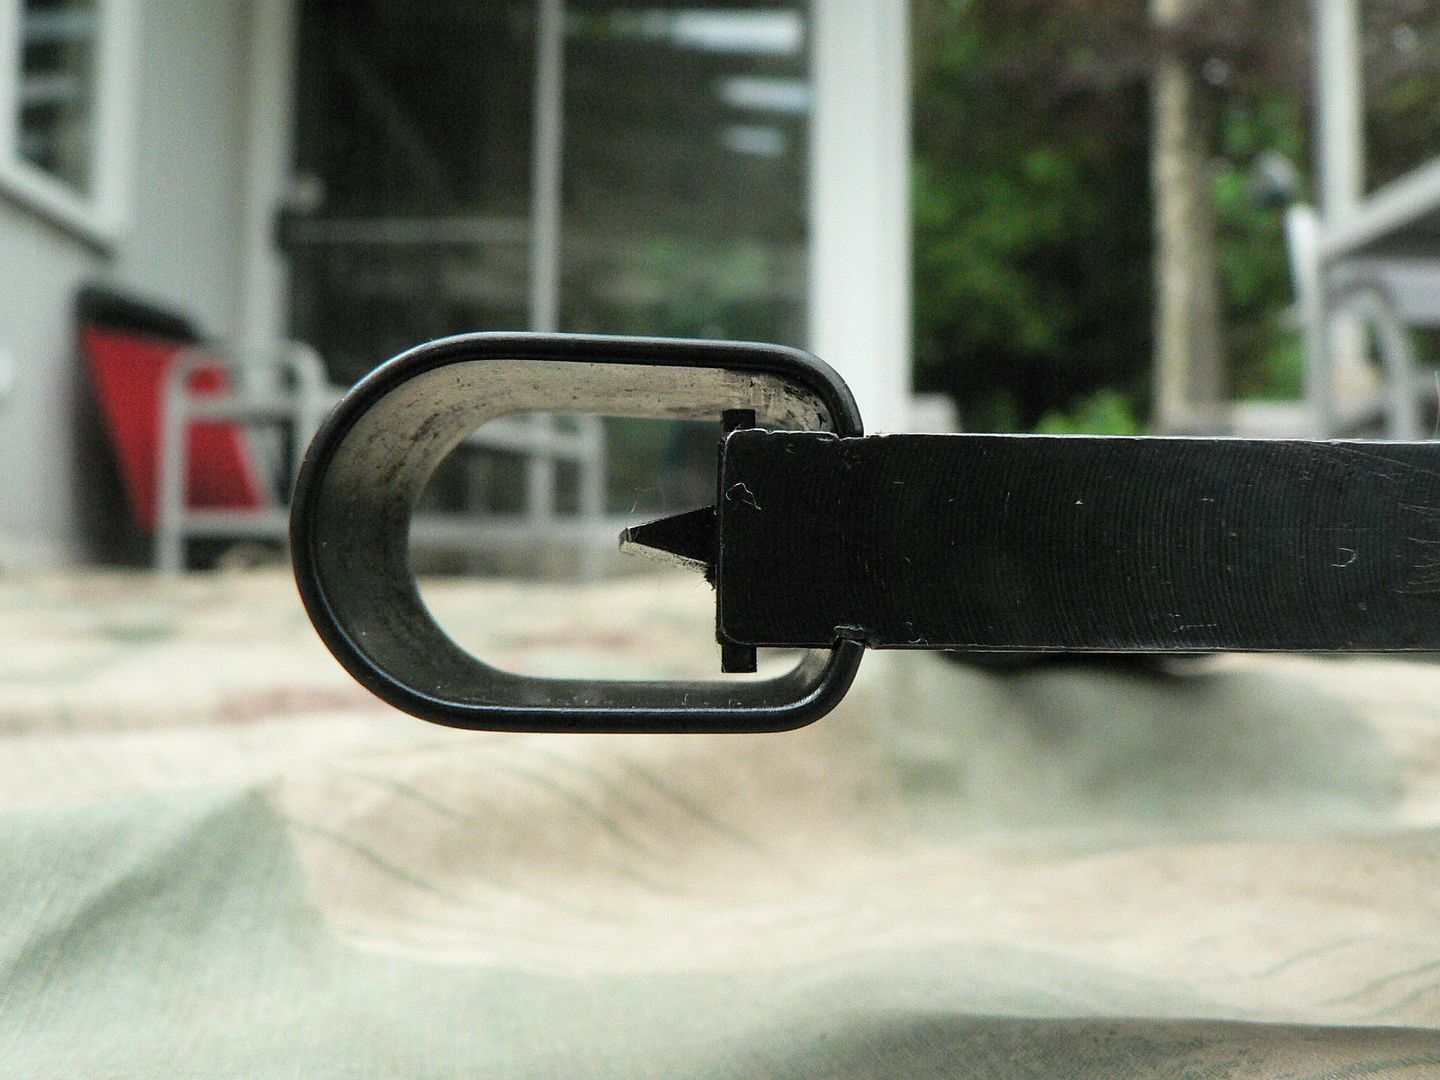
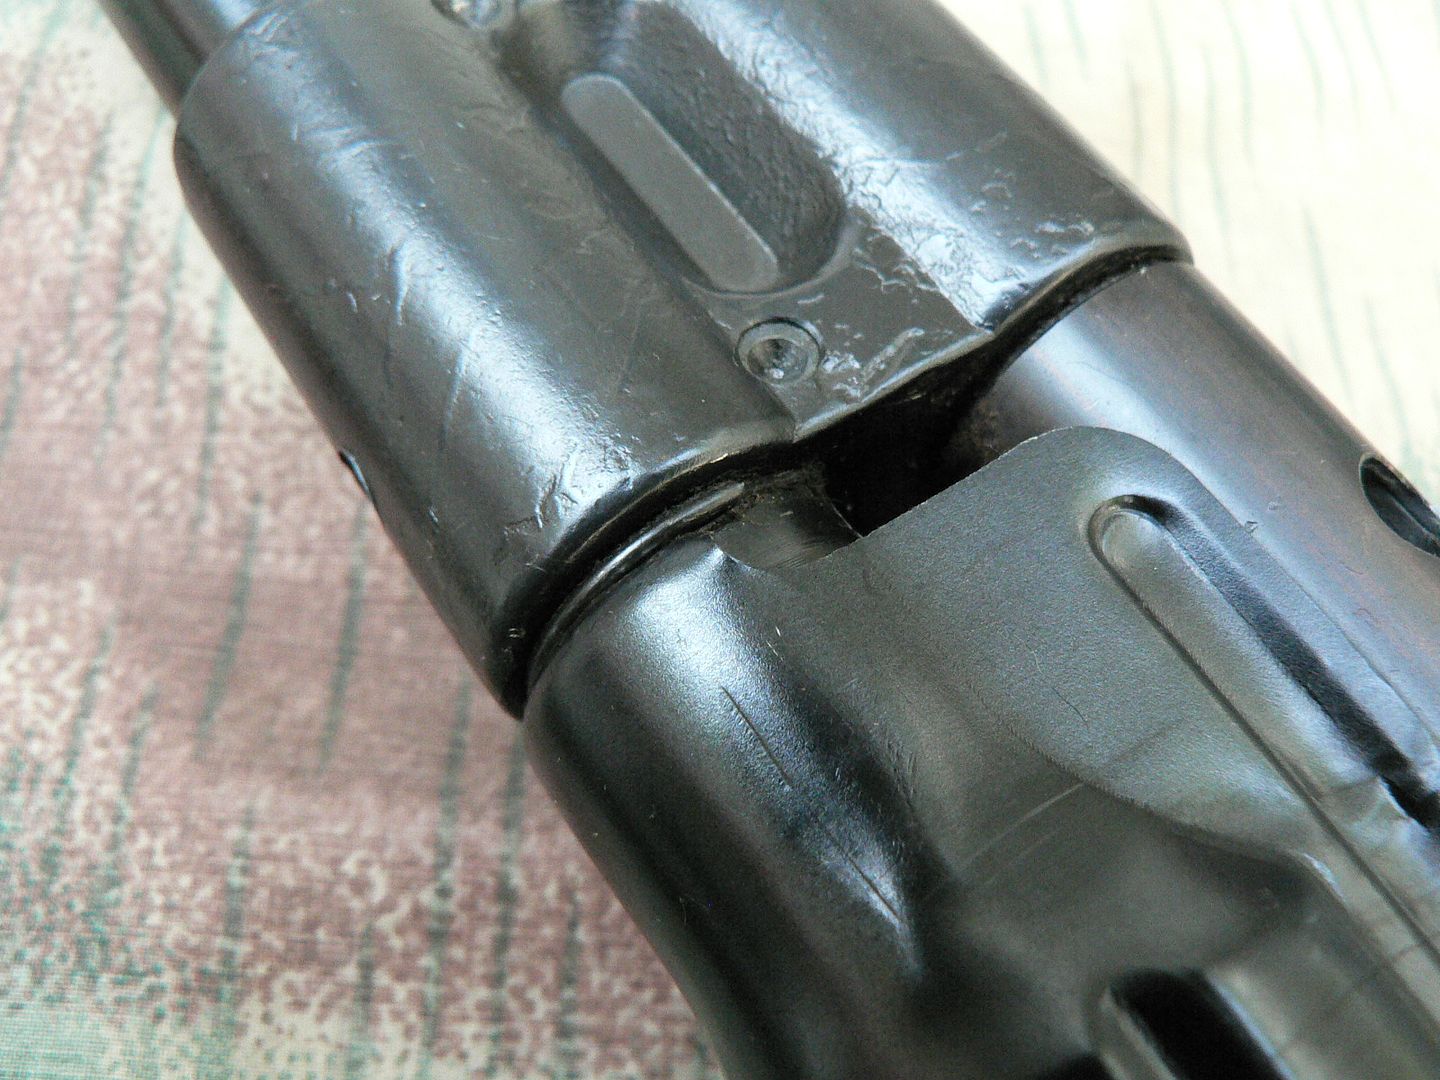
While we're up here, notice the muzzle nut lock pin:
That didn't work right. If you pushed it in to remove the muzzle nut, it would stick in the sight base. The only way to get it to pop back out was to shoot the rifle and the resulting recoil would cause it to pop back out. That's not a huge deal but it bothered me. Now it's been corrected and it works just as it should. In order to repair it though the front sight base had to come off. That seems like a bunch of work for such a small thing.
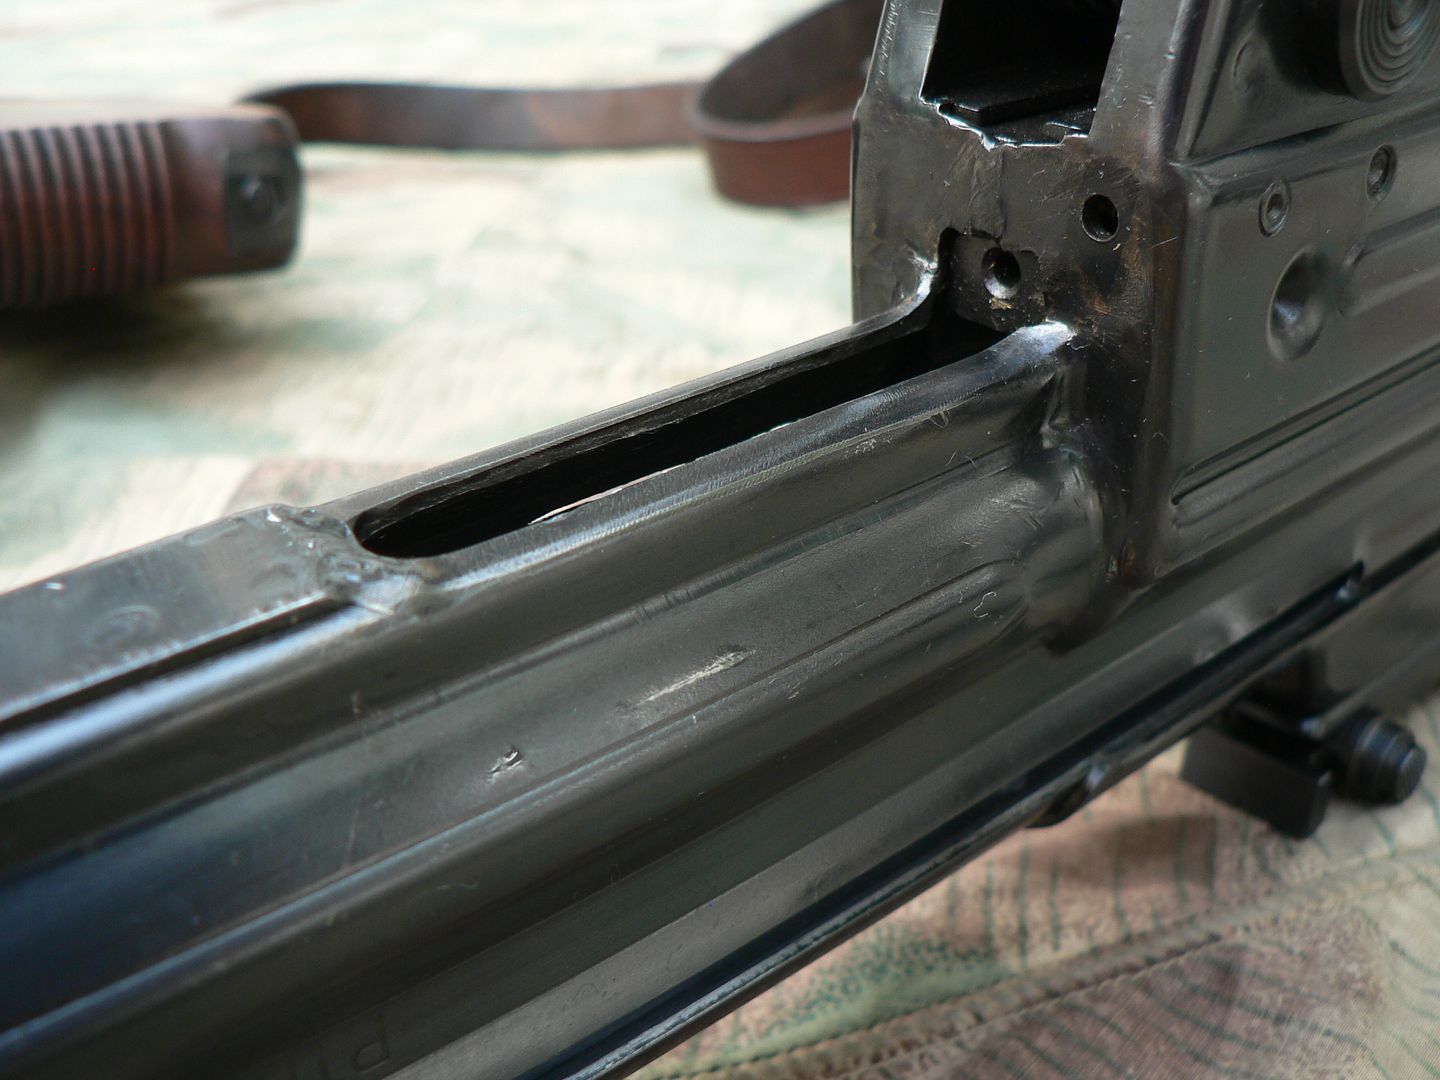
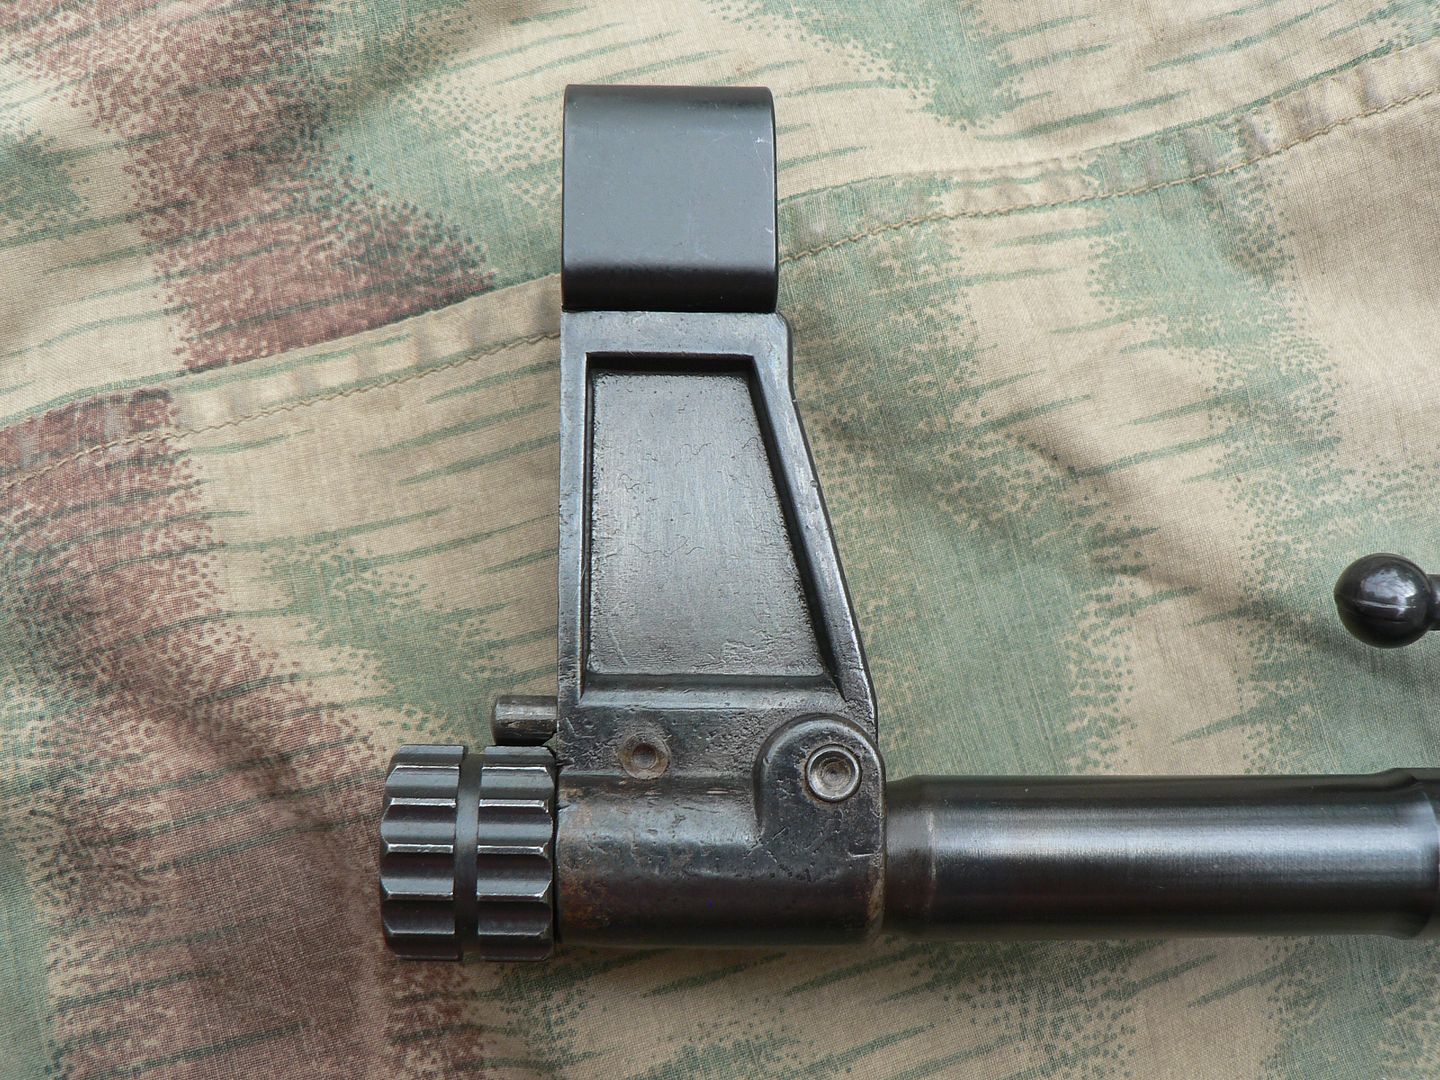
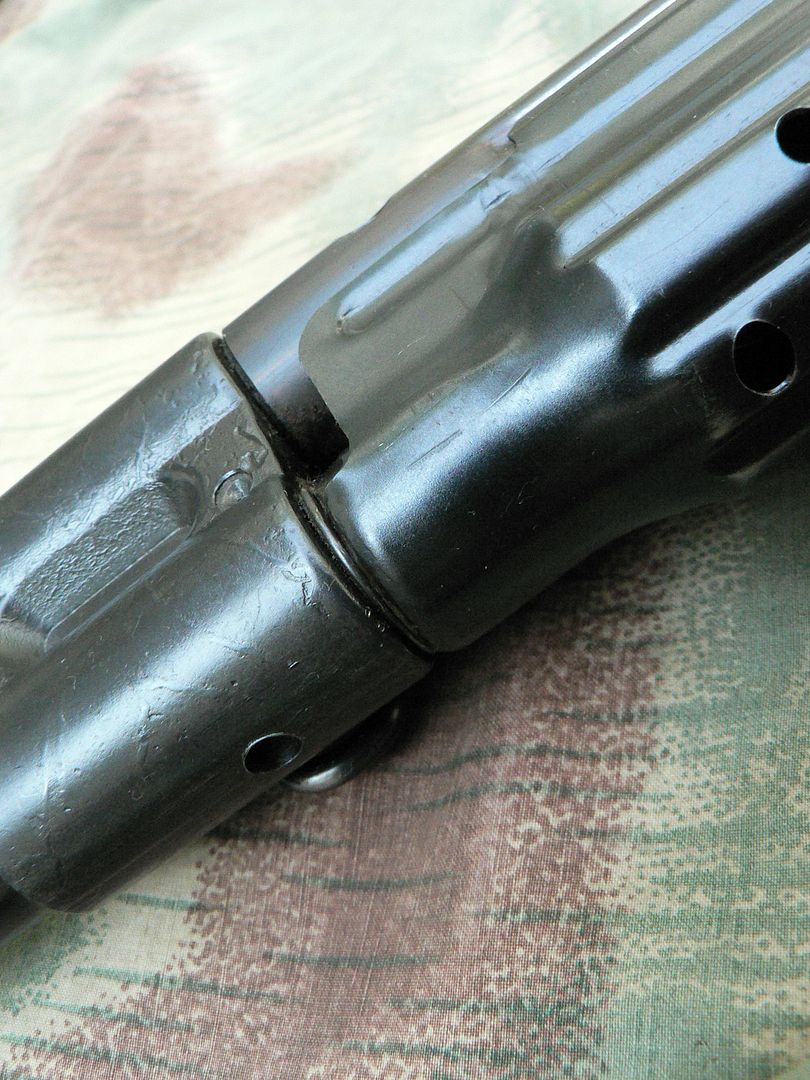
Well...….the sight base had to come off anyway because it was loose on the barrel. It wasn't super loose but you could rotate it side to side with not much effort. I noticed it early on when holding the muzzle while loosening the gas plug. As the rifle left the factory, the only thing holding the base on the barrel was a pin. This was true during the war and it was true when this was built. Even back in the 40's loose front sights were a complaint. So, the sight is now soldered in place just as it would be on a K98K. Additionally, a new slightly oversized pin was manufactured and installed. Its as secure as it can possible be now:
Notice the discoloration going on in the bluing. It's looking good!!!
By the way, I'm starting to get some dings and bluing loss on the rifle. The more the better. As an example, here is the front bottom of the handguard:
And a but of edge wear at the front of the receiver:

Of course, these piddley things are nowhere NEAR enough. I carry it all over the place and am somewhat rough on it in an effort to get nicks and scratches. I also go over it with a rag every time I pick it up. I'm getting some dings in the stock now too and some dents in the metal that I have no idea how they got there. When I get to less than 50% bluing and some nice brown patina, I'll be satisfied. Unfortunately, I have a long way to go! What I really need to do is go on more overnight hiking trips and carry it with me. Yep.....I'm nuts.
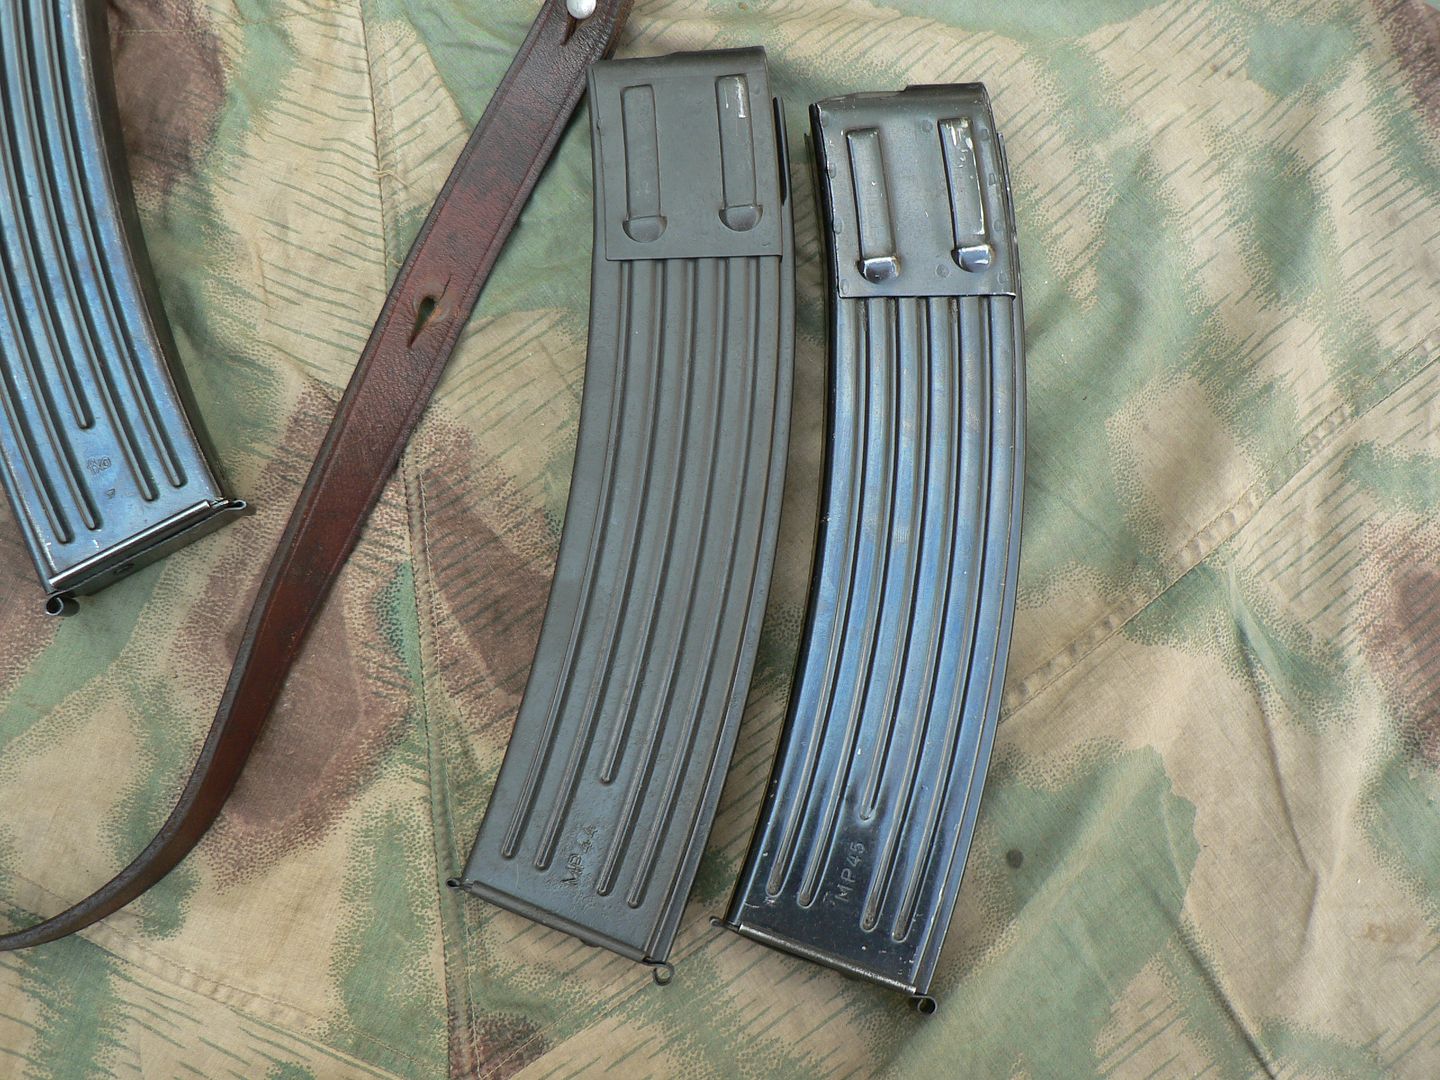
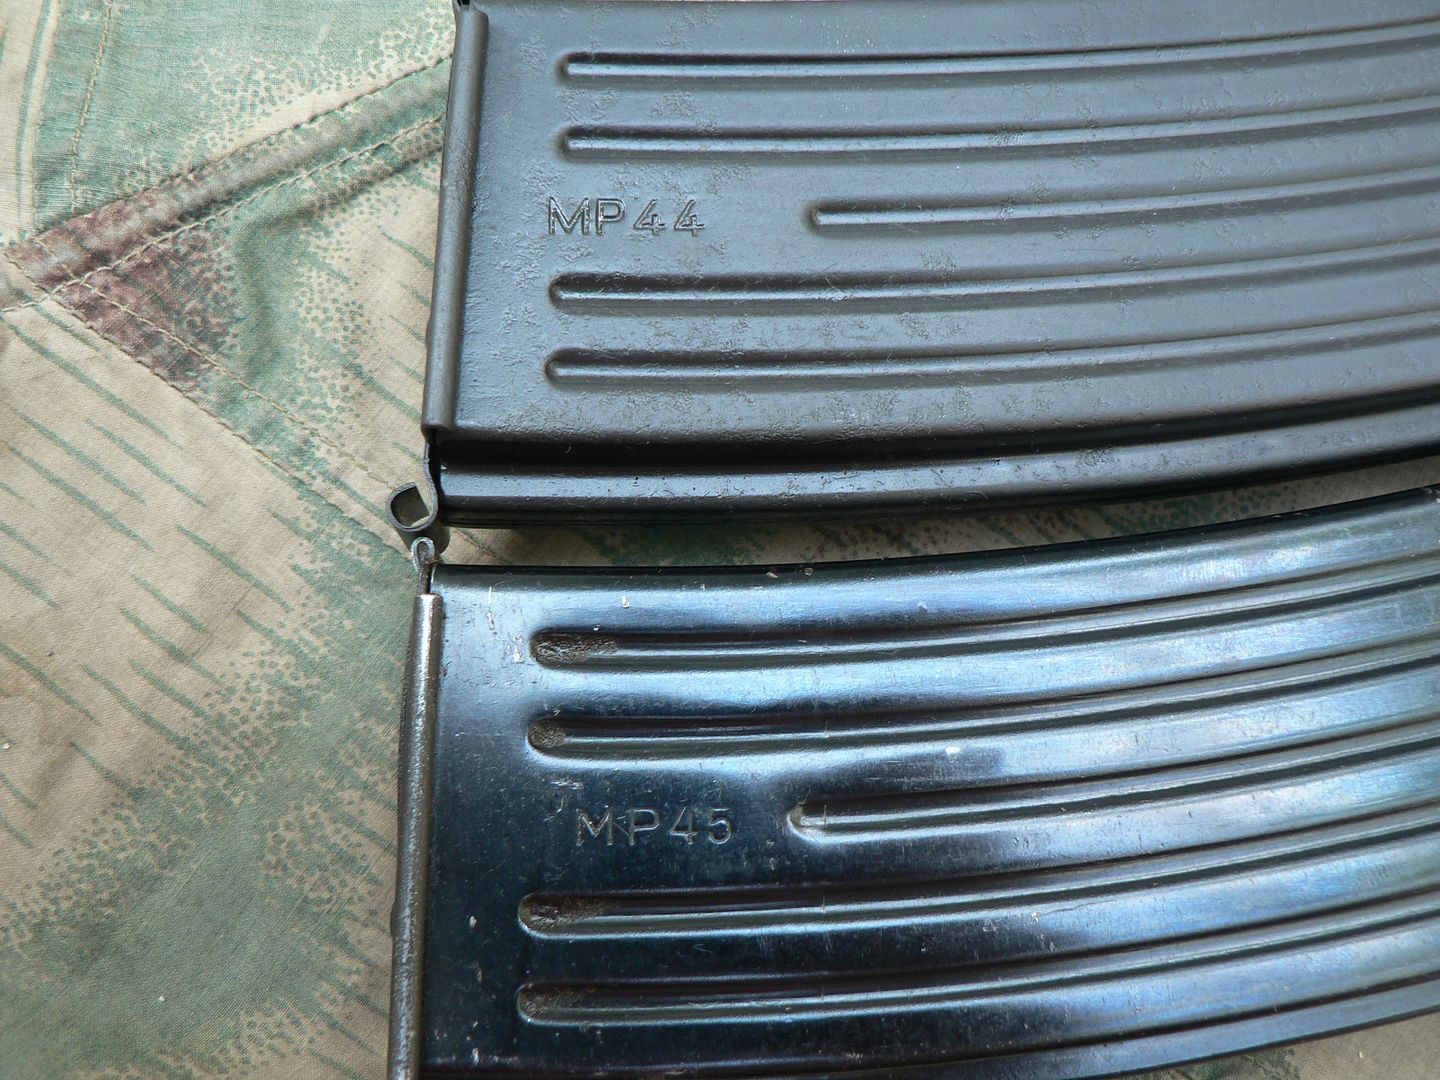
Next up was a magazine issue. I have three original magazines; an East German, an FXO (Haenel) and an MP45 marked gqm (Loch & Hartenberger). The East German and MP45 marked magazines fit nicely in the magazine well and function fine. But the FXO had a lot of front to rear slop which caused feeding issues. In order to fix that, a shim was cut and silver soldered to the front of the magazine:
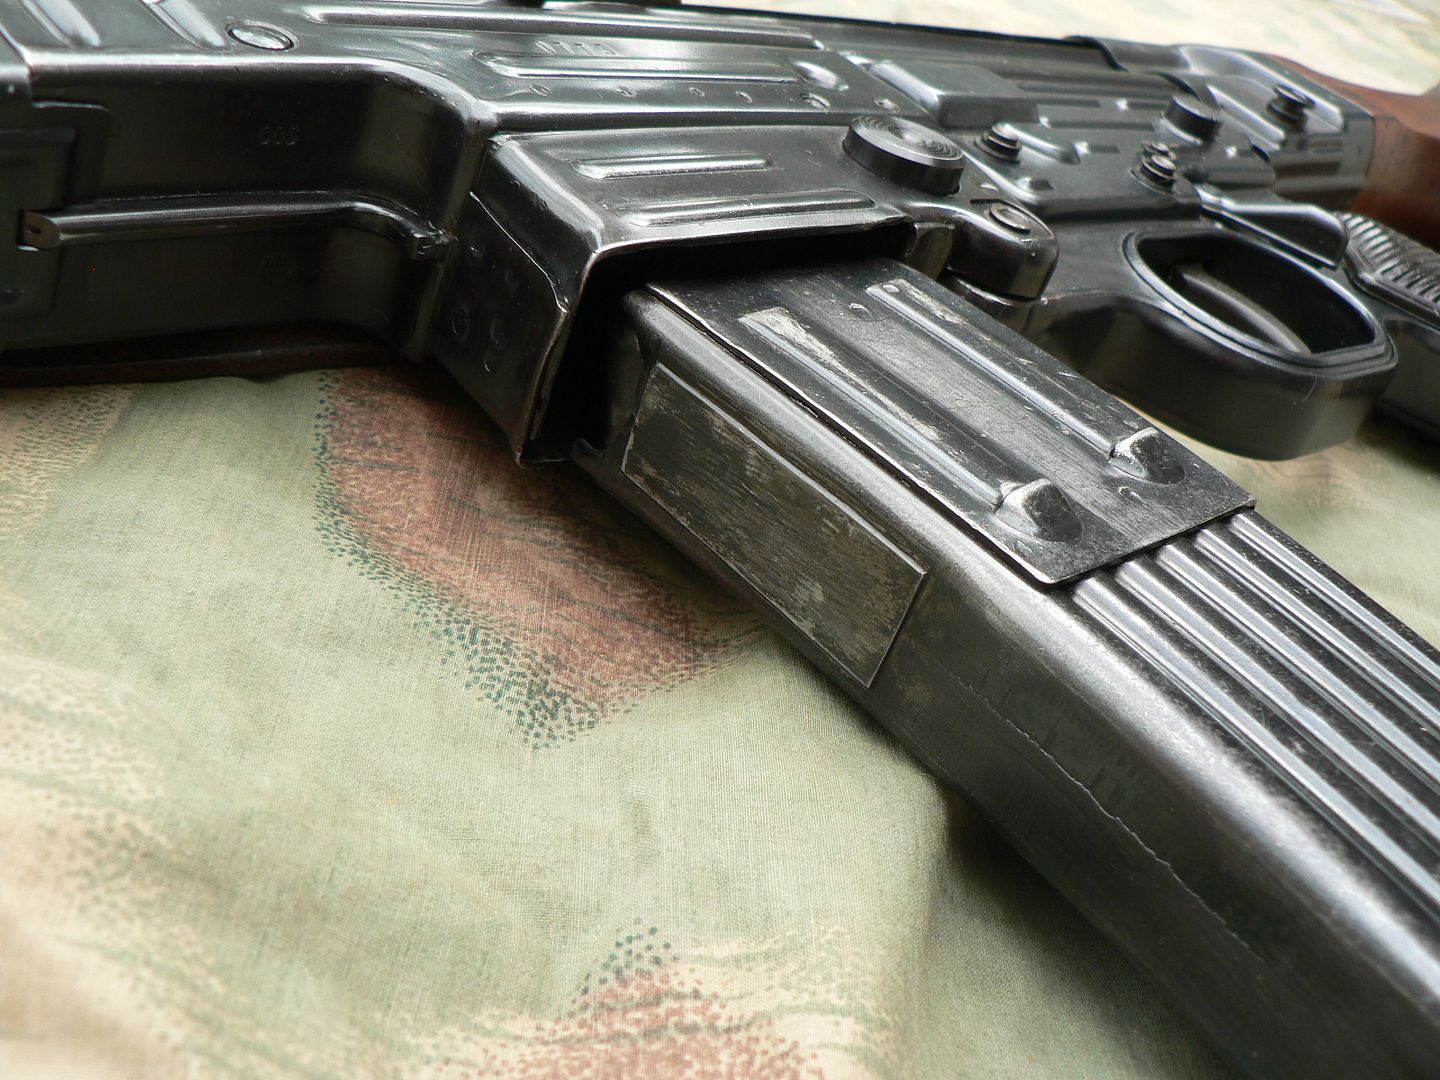
It cannot be seen when seated in the rifle and now it has minimal movement. As a result, it functions just fine now.
While the East German magazine worked fine, it had active rust and was pitted. I gave up trying to stop the rust and asked Mr. Wizard to just refinish it and be done with it. He wanted to make sure that the rust was totally eliminated so he blasted it, parked it, blasted it again and parked it again. He may have even done it a third time but I forget now. Whatever the case, he was thorough! He made it a nice dark grey to almost black color. Below, it is on the left compared to an original wartime blued example on the right:
And a detail showing just how pitted it is under the finish:
I hated to have that done because I like the East German jobbers better than the wartime ones because I'm a big Combloc fan. I would have liked to have preserved the finish but it was for the best. Now I can use it and stop obsessing over the rust.
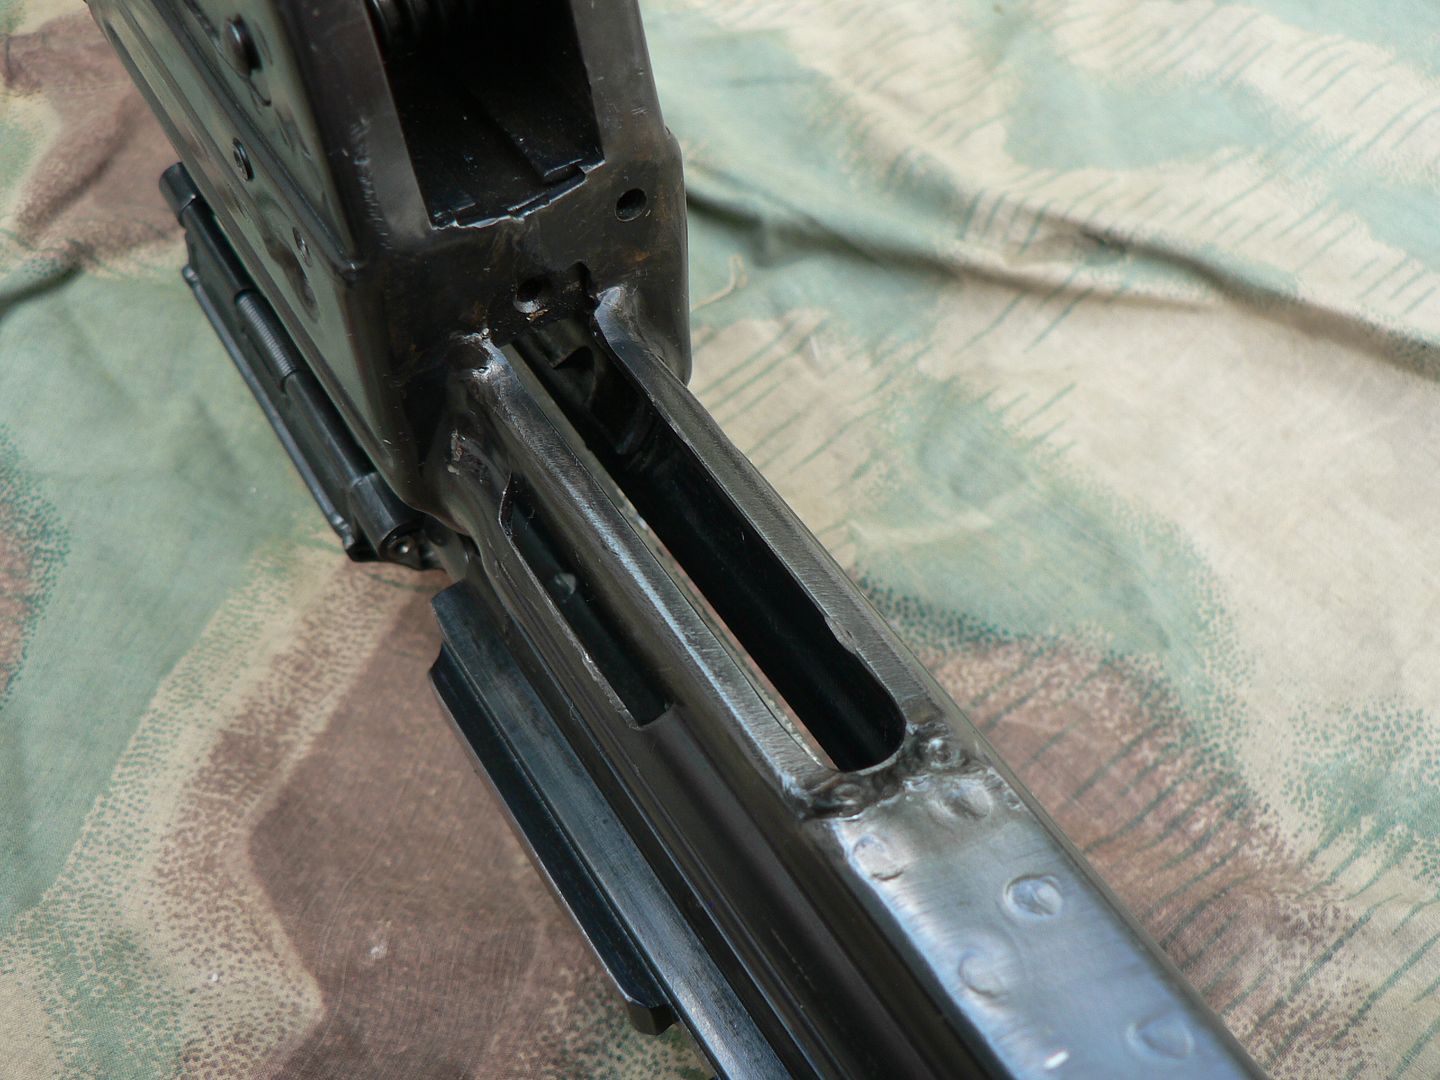
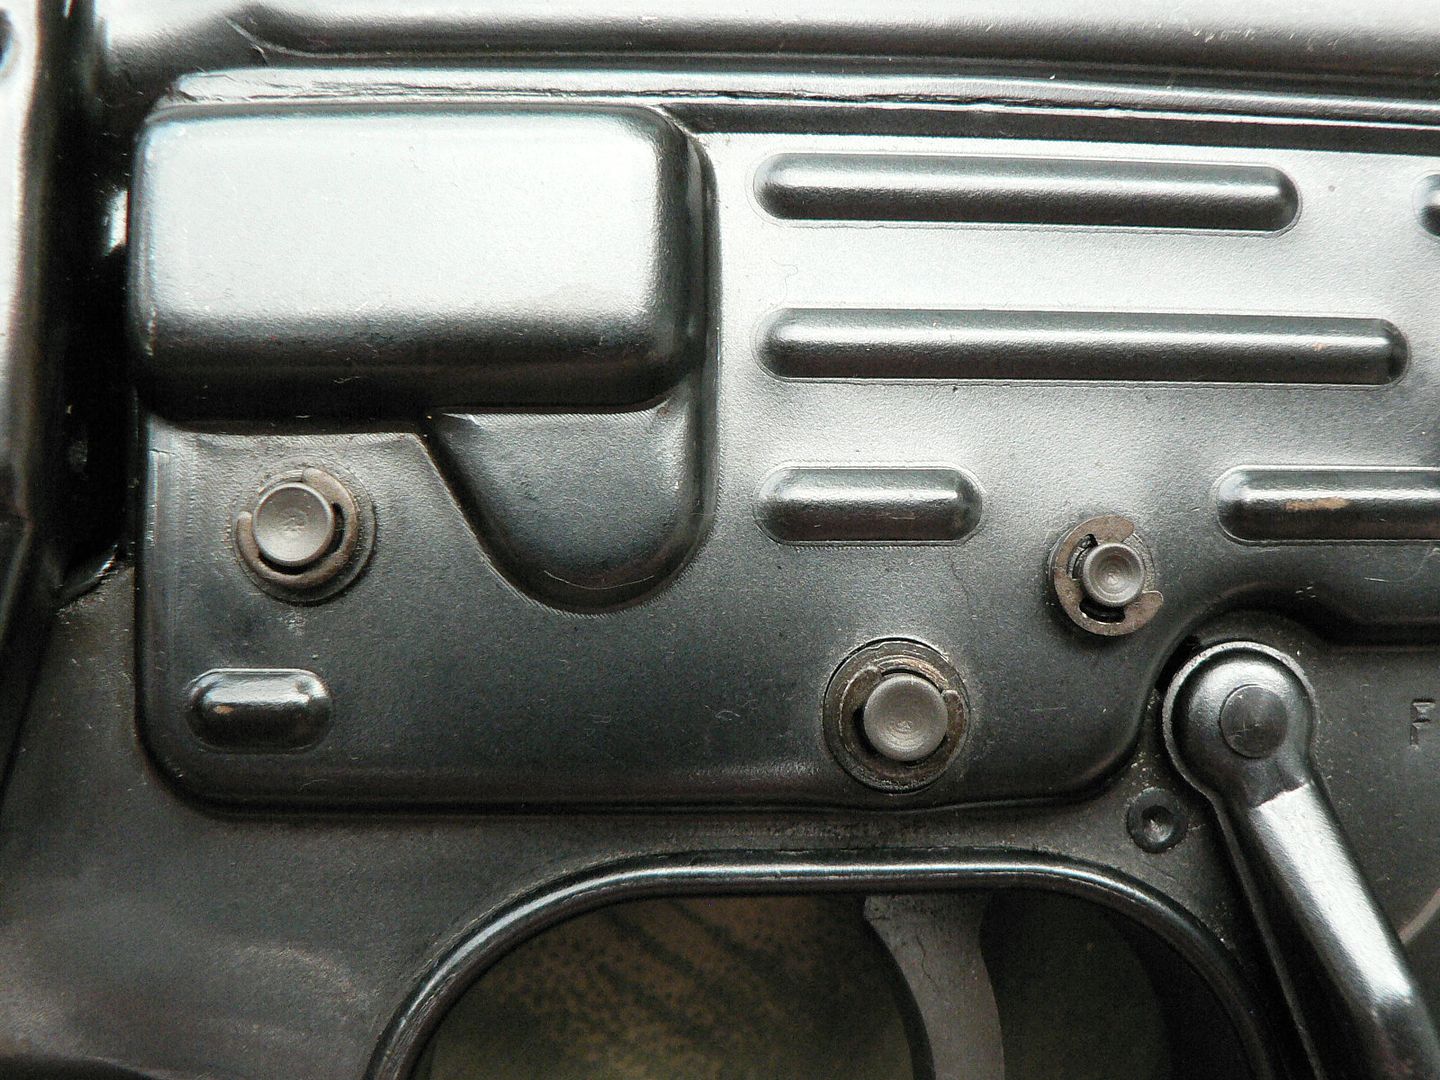
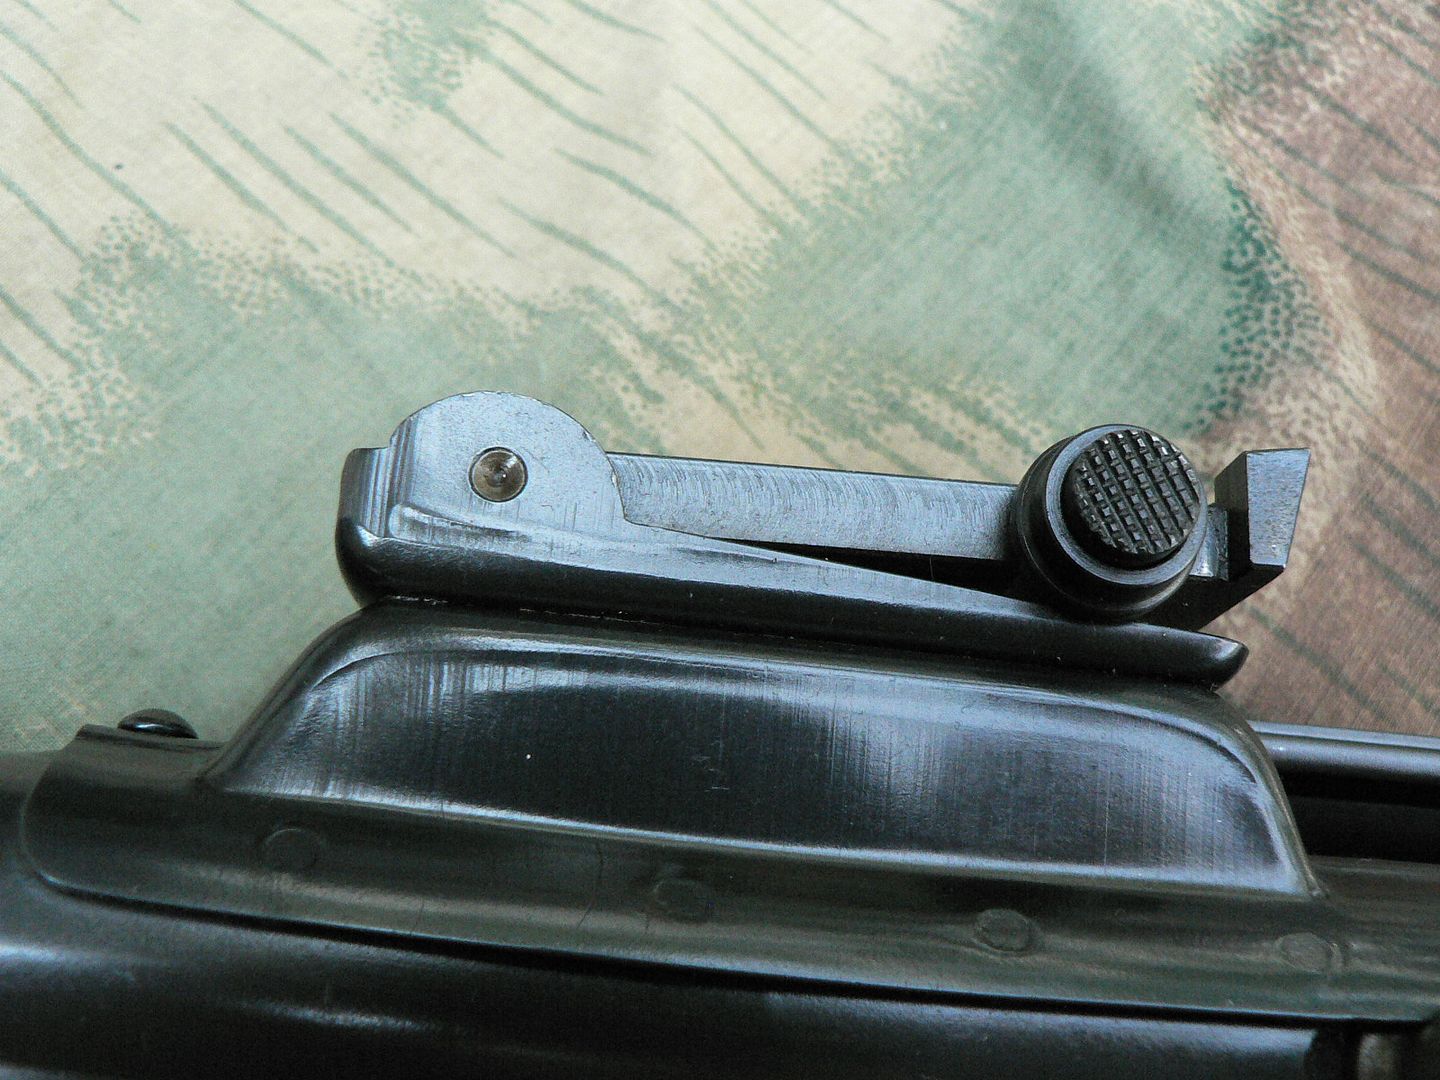
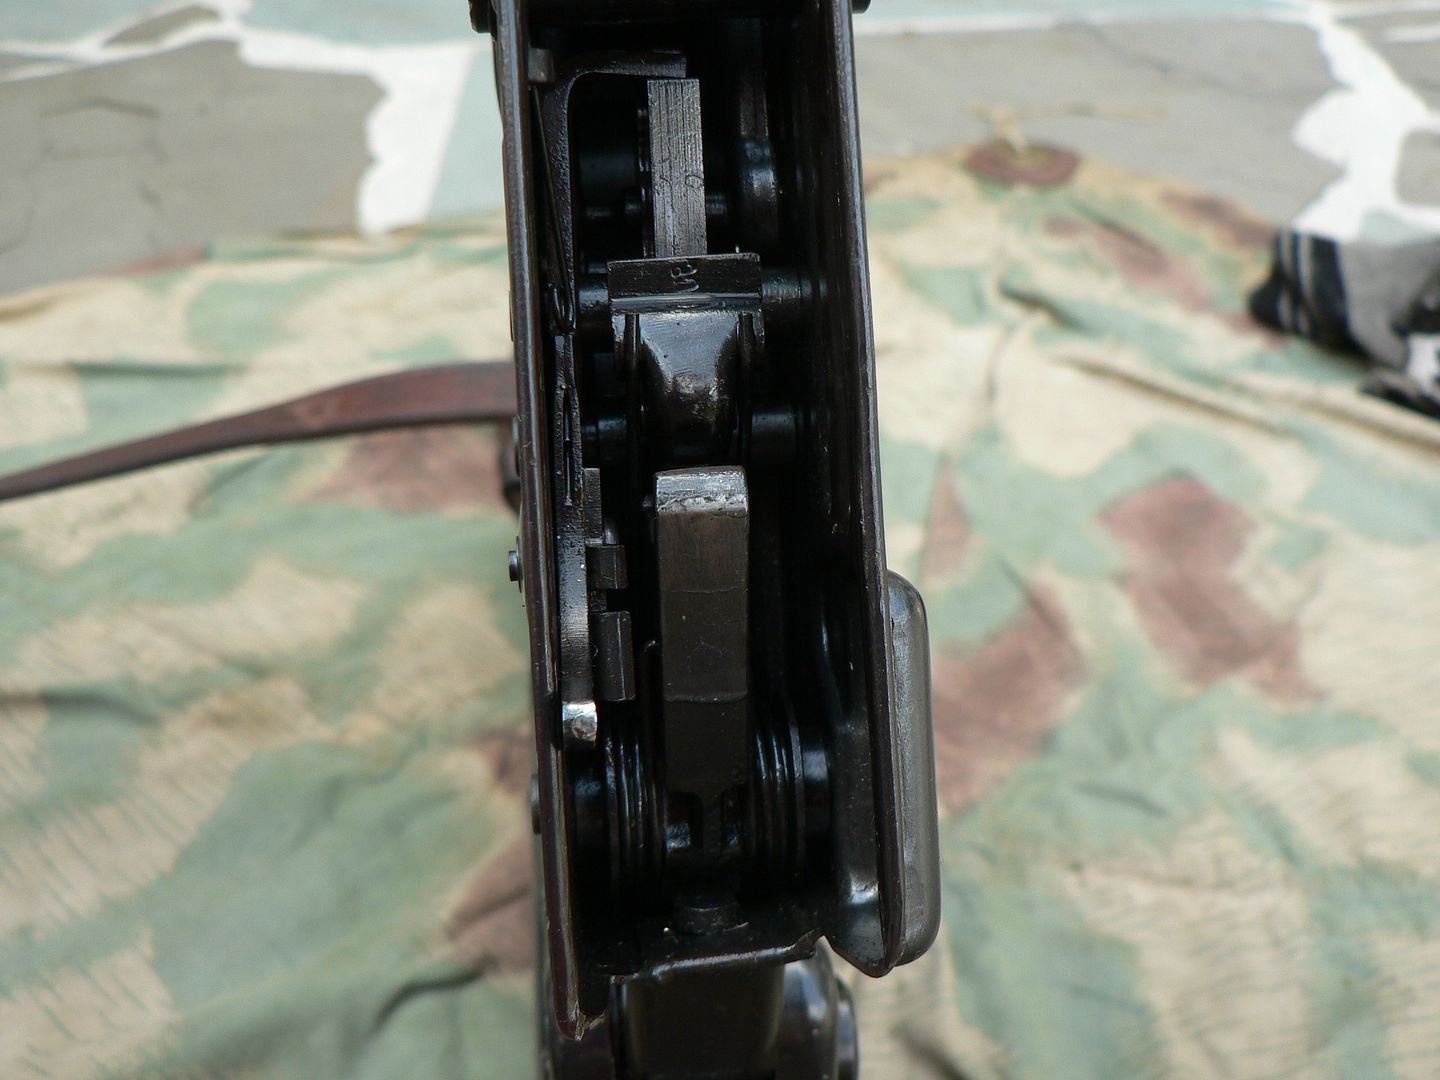
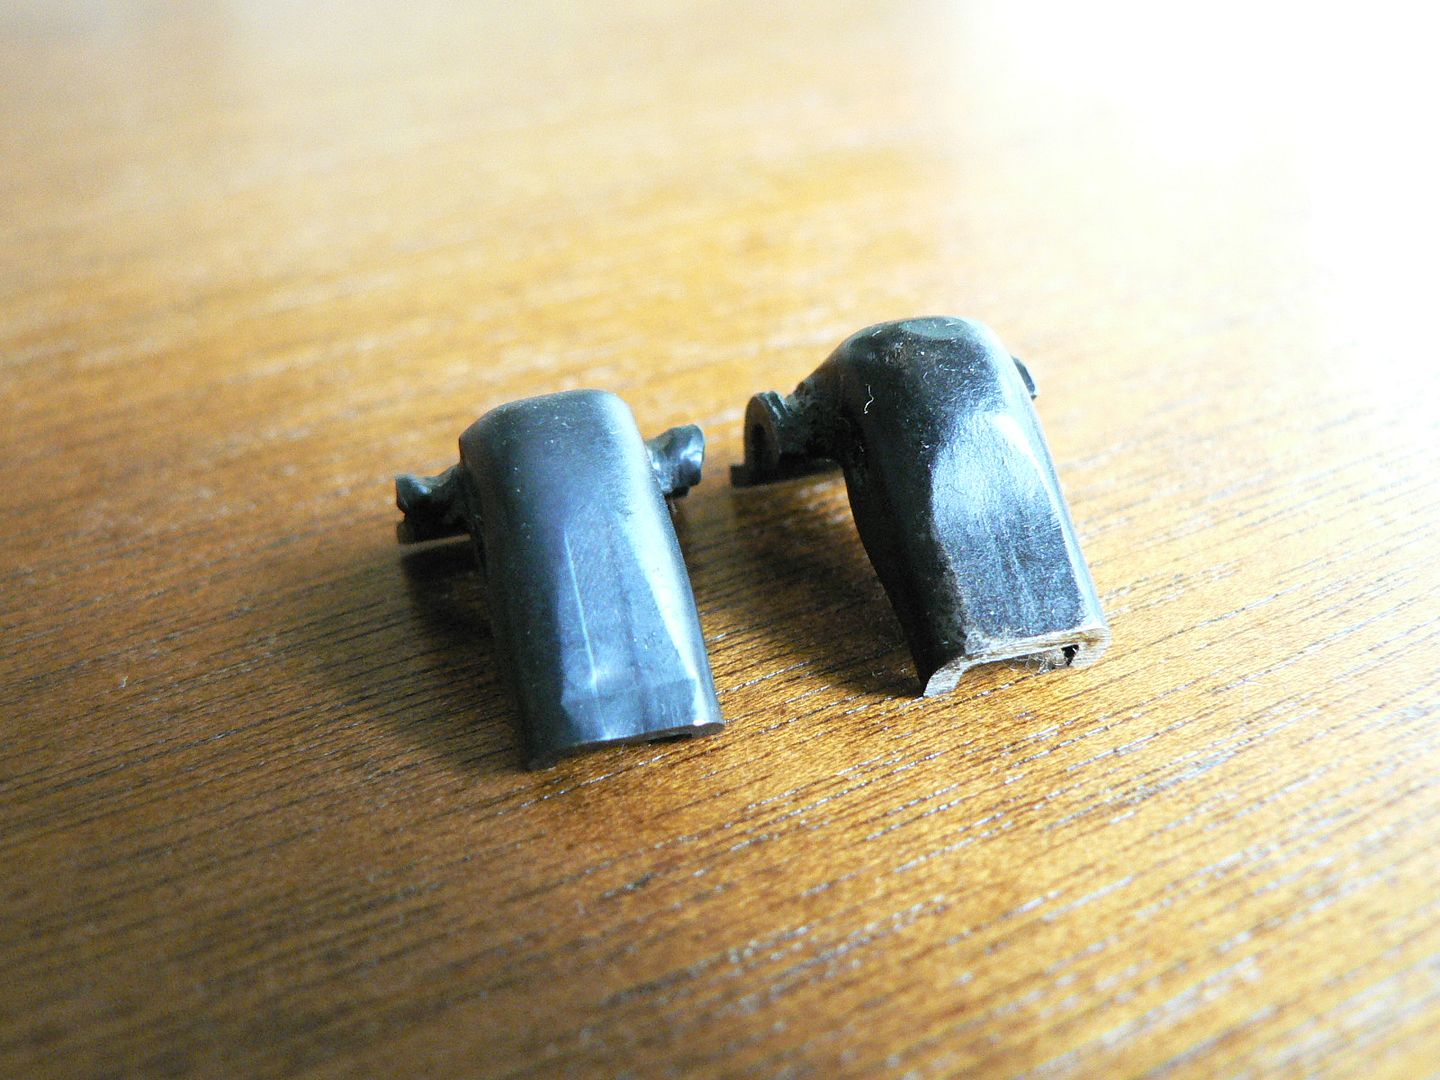
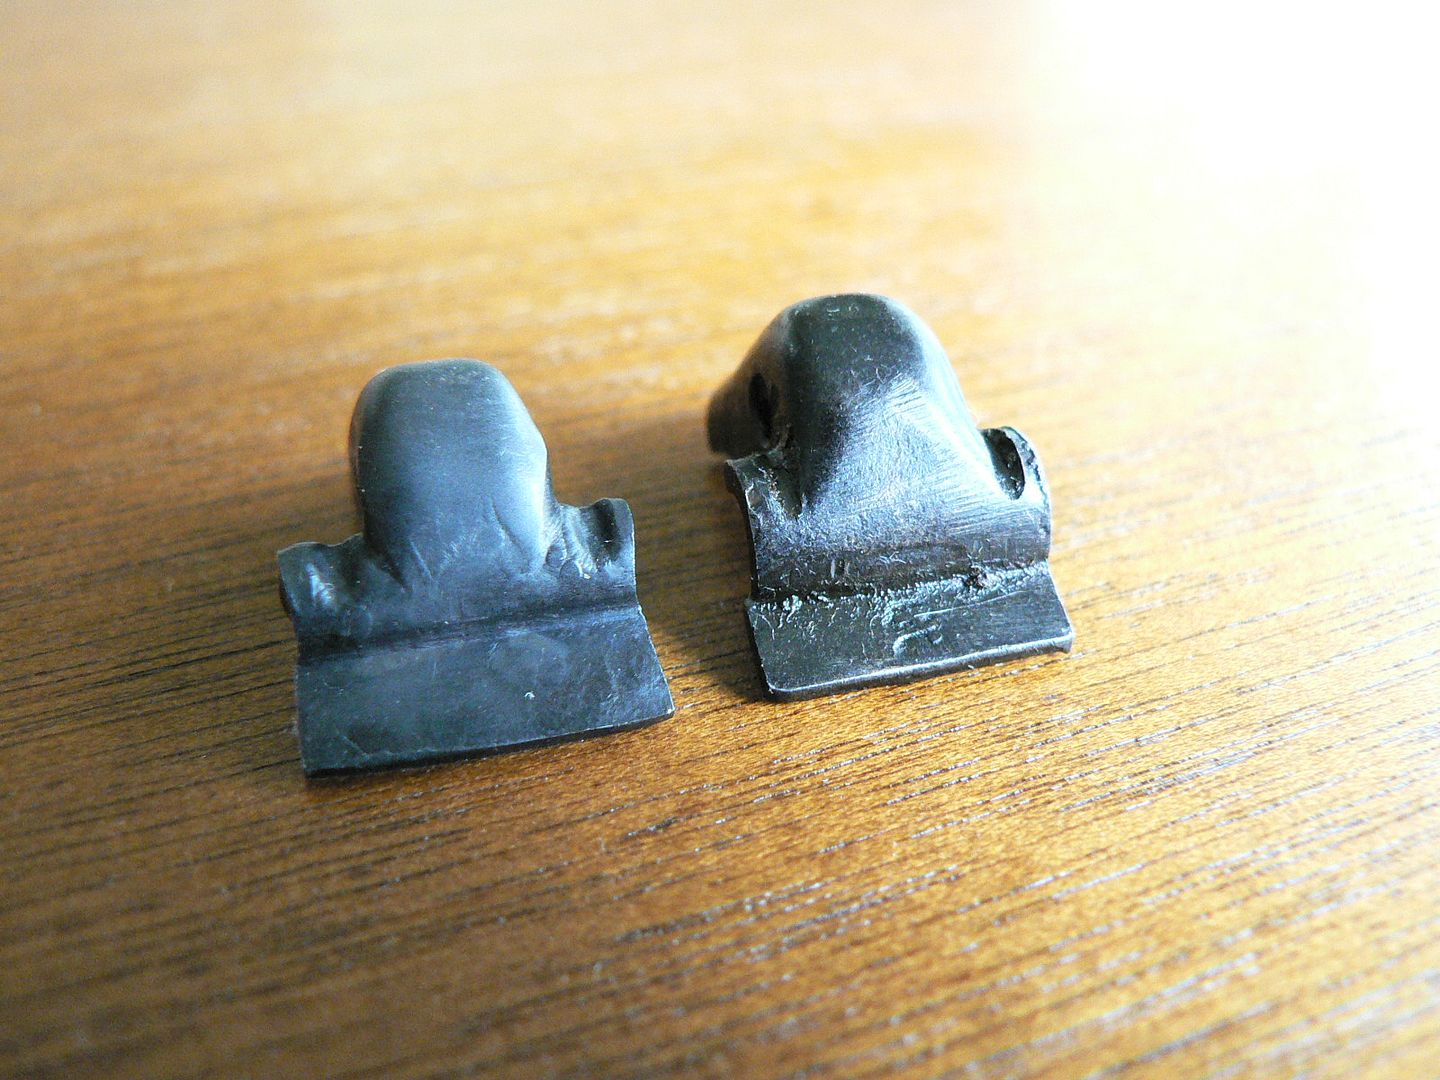
I told the Wizard to go over the entire rifle with a critical eye and to fix, replace or modify anything that didn't look right to him. He decided that he didn't like the look of the rear sight leaf fixing pin and replaced it with one he fabricated. I thought it looked fine before but I was wrong. Now it looks like it was manufactured and installed with the care only a true craftsman can impart.....because it was:

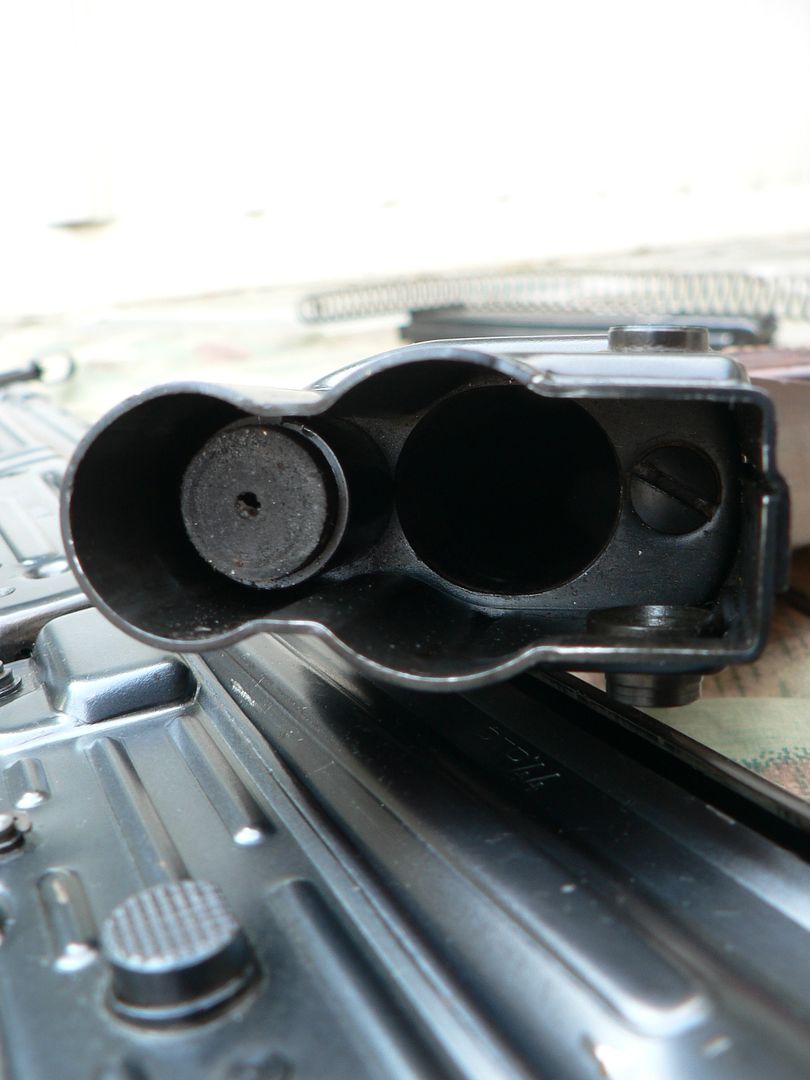
On the MP44 the gas tube is anchored to neither the gas block nor the receiver. It just floats in between the two. As a result, it's normal for it to slide fore and aft just a hair. It's not a lot but it does move. When installed, ribs stamped into the handguard snap into corresponding valleys on the gas tube and lock the two parts together as a unit. Consequently, the handguard will slide fore and aft too. The Wizard does not like this. He says it makes the rifle feel cheap. To eliminate this movement, he made a little ring for each of his rifles that just snaps over the barrel behind the gas block. He did the same for mine and now there is zero movement:
This dude is all about the details. That's EXACTLY the kind of person you want working on a rifle.
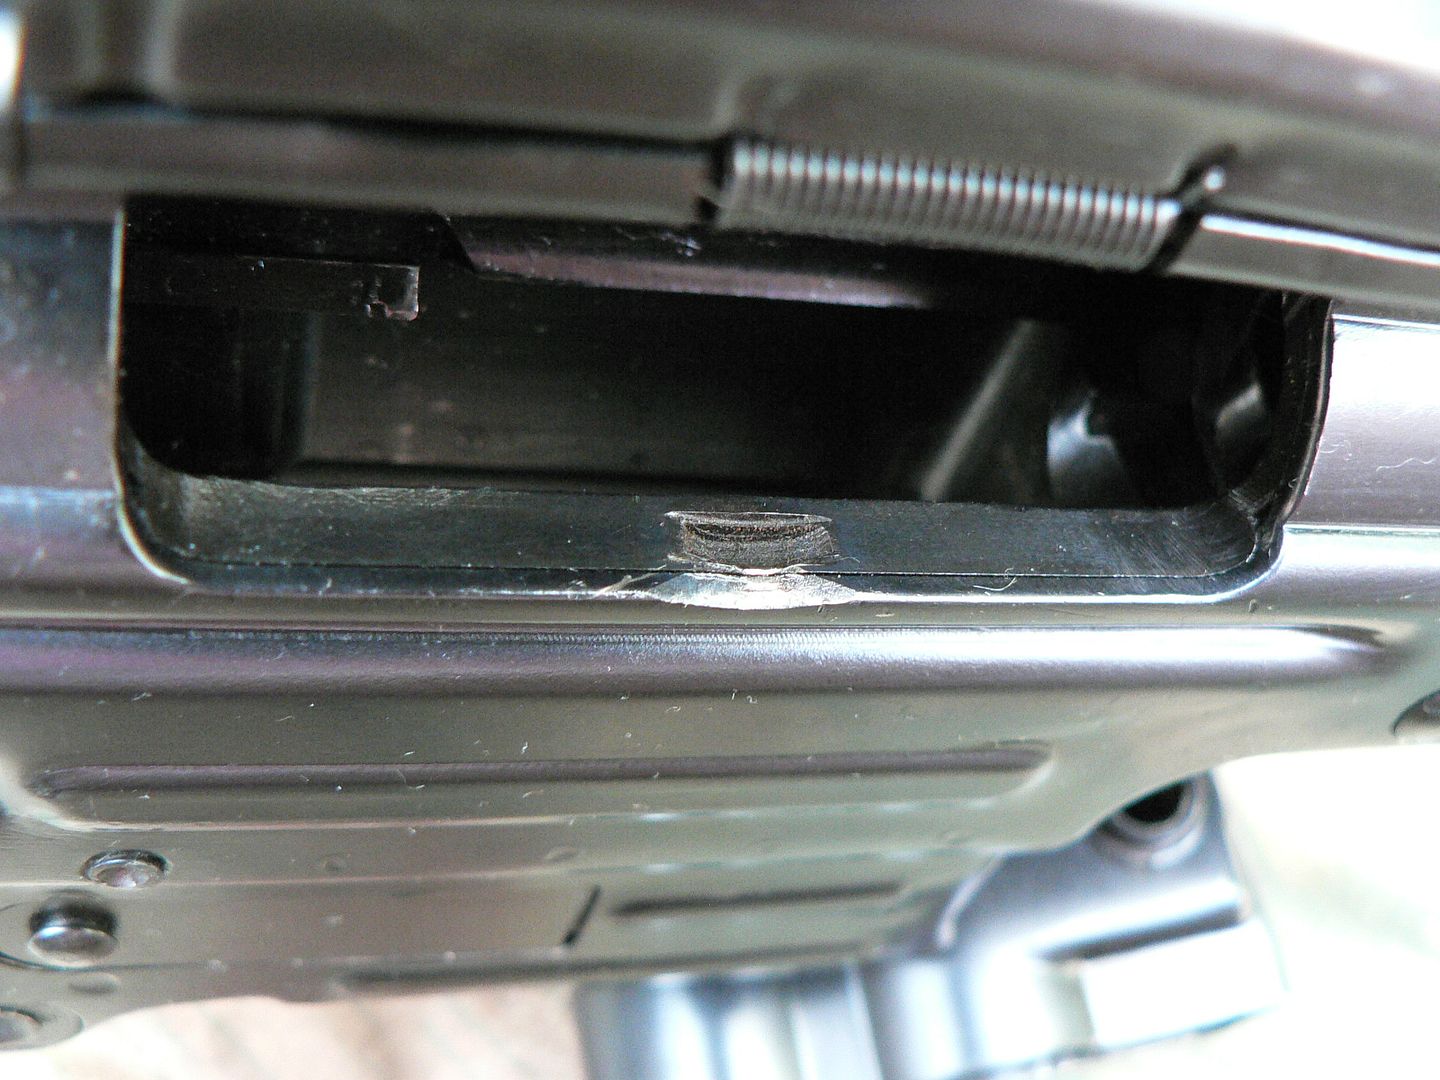
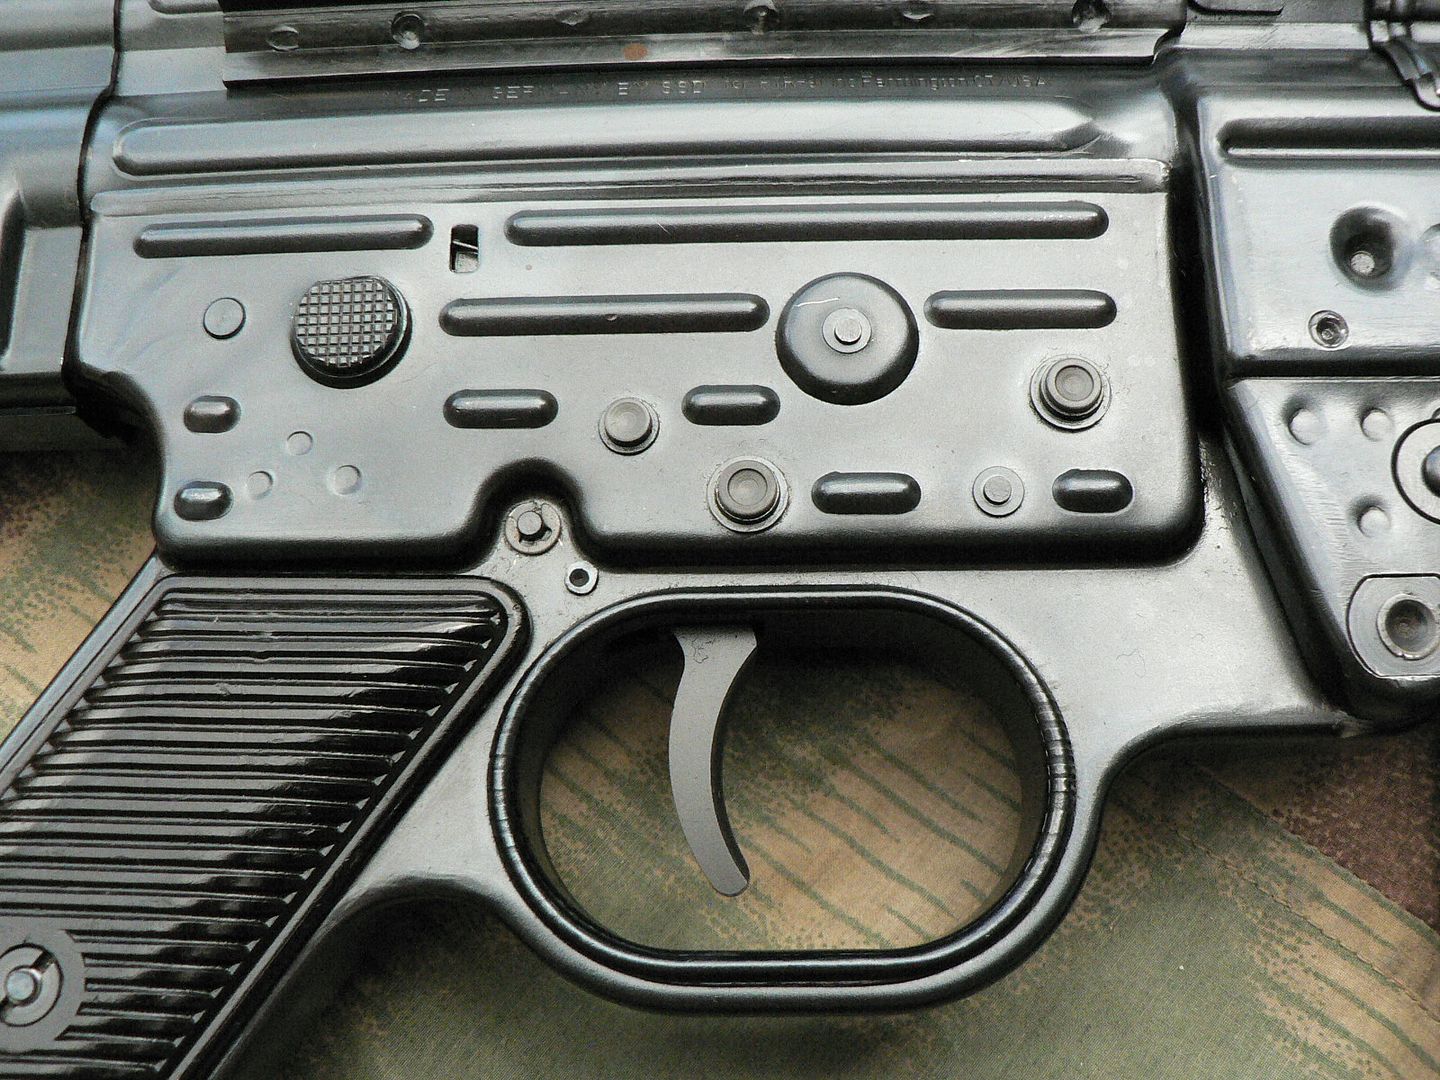
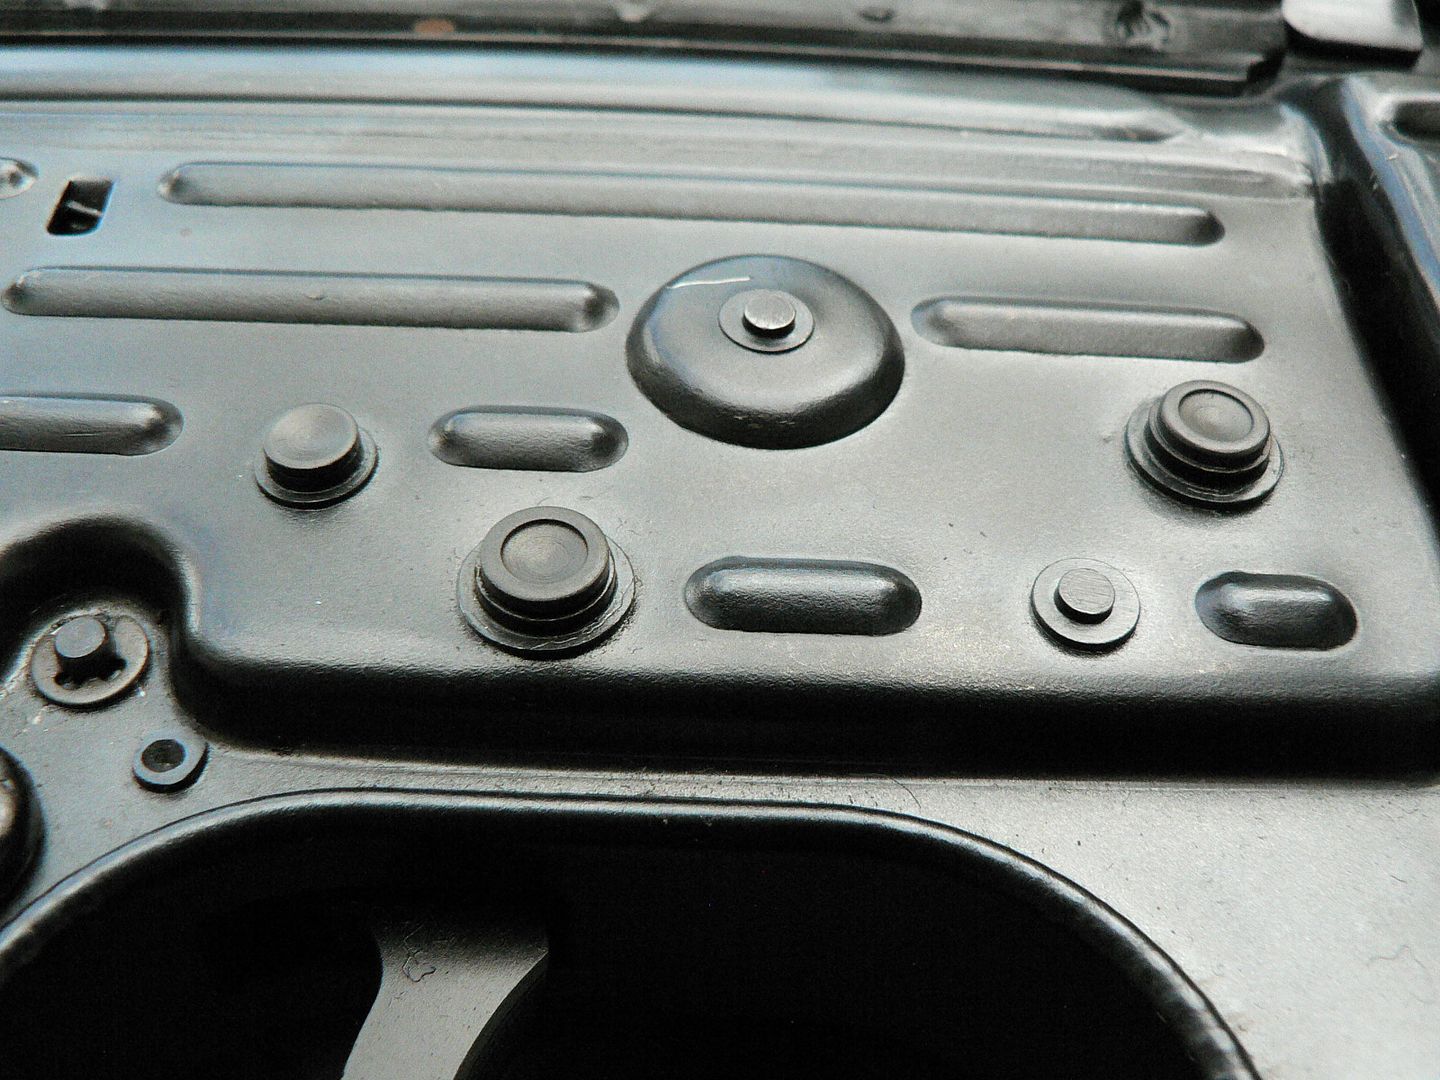
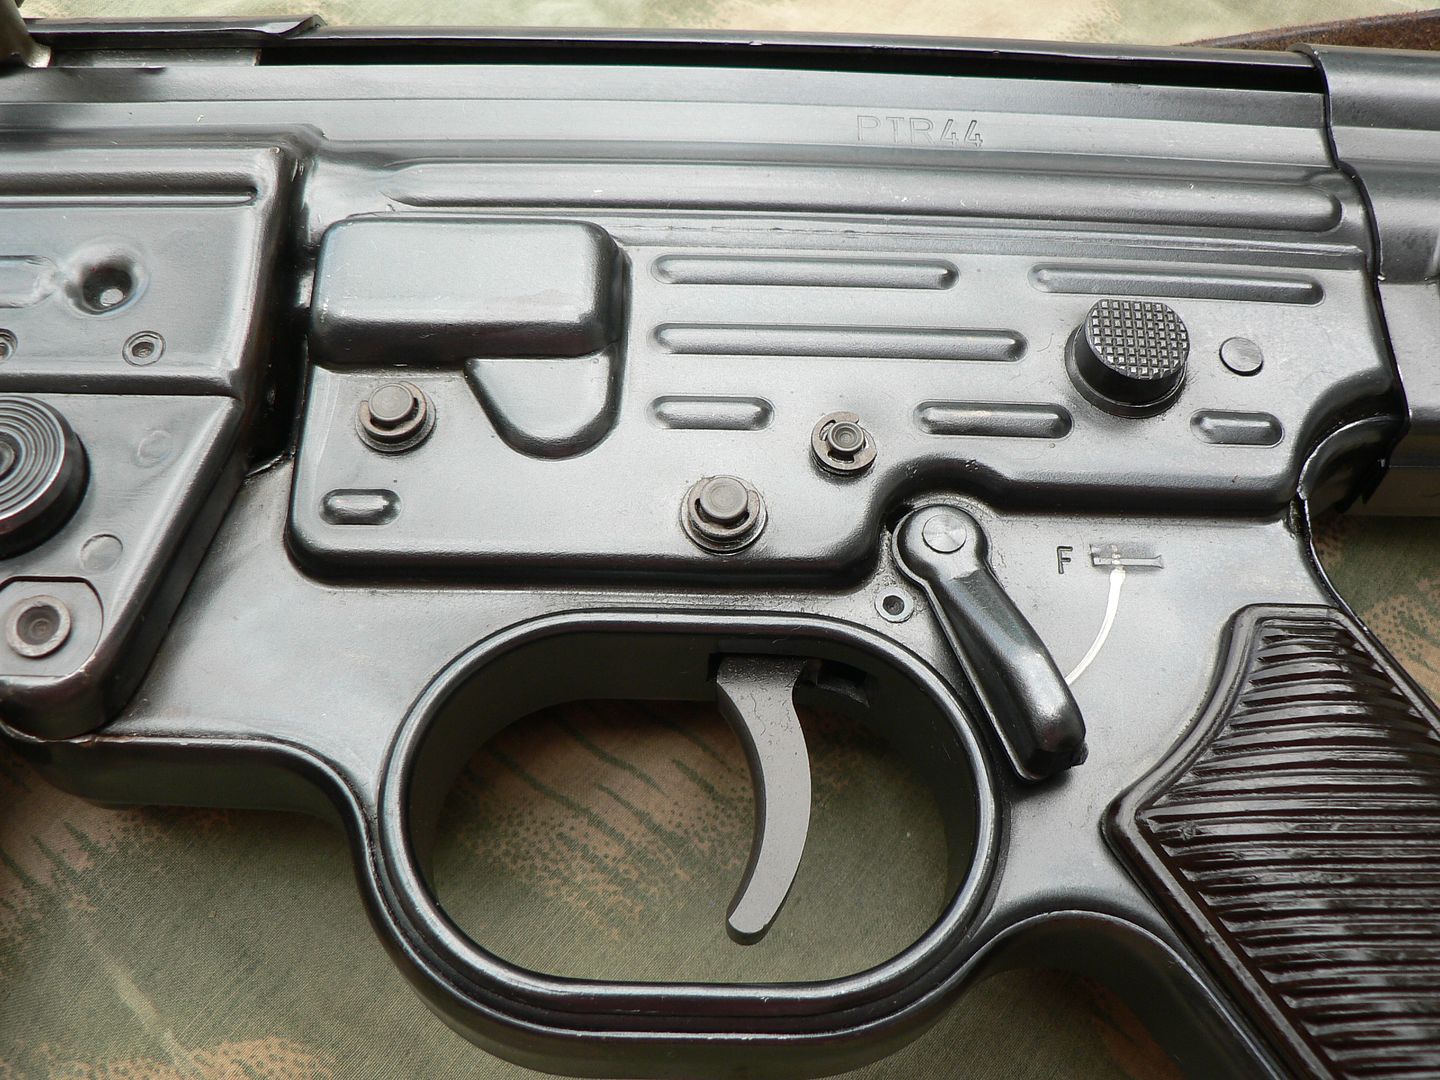
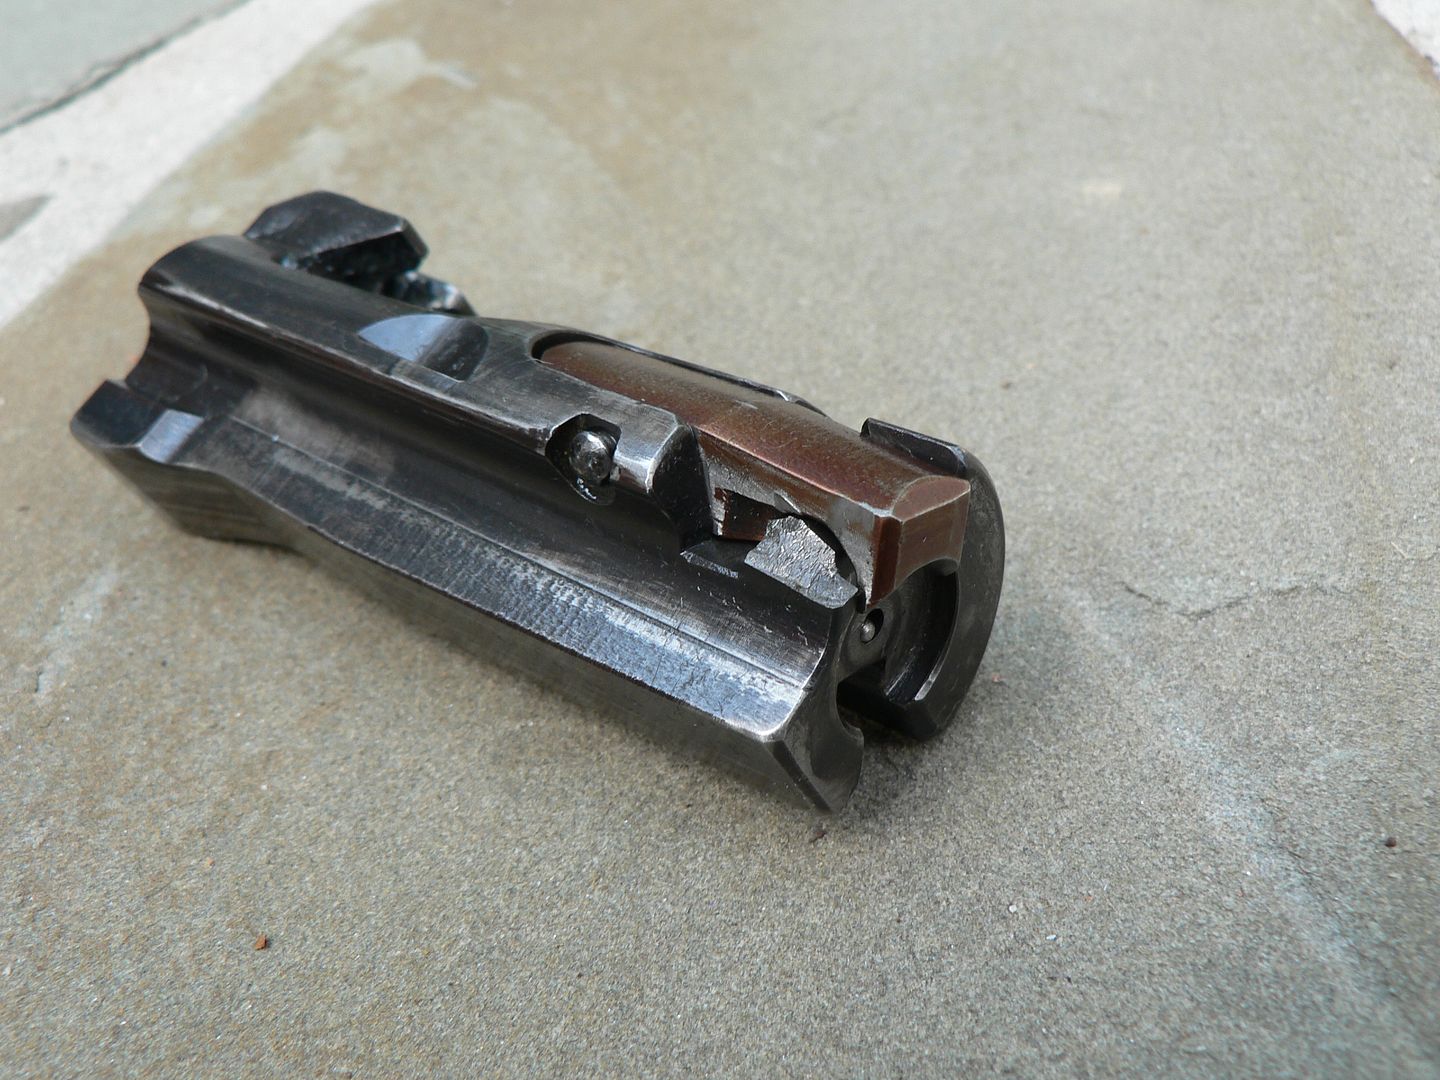
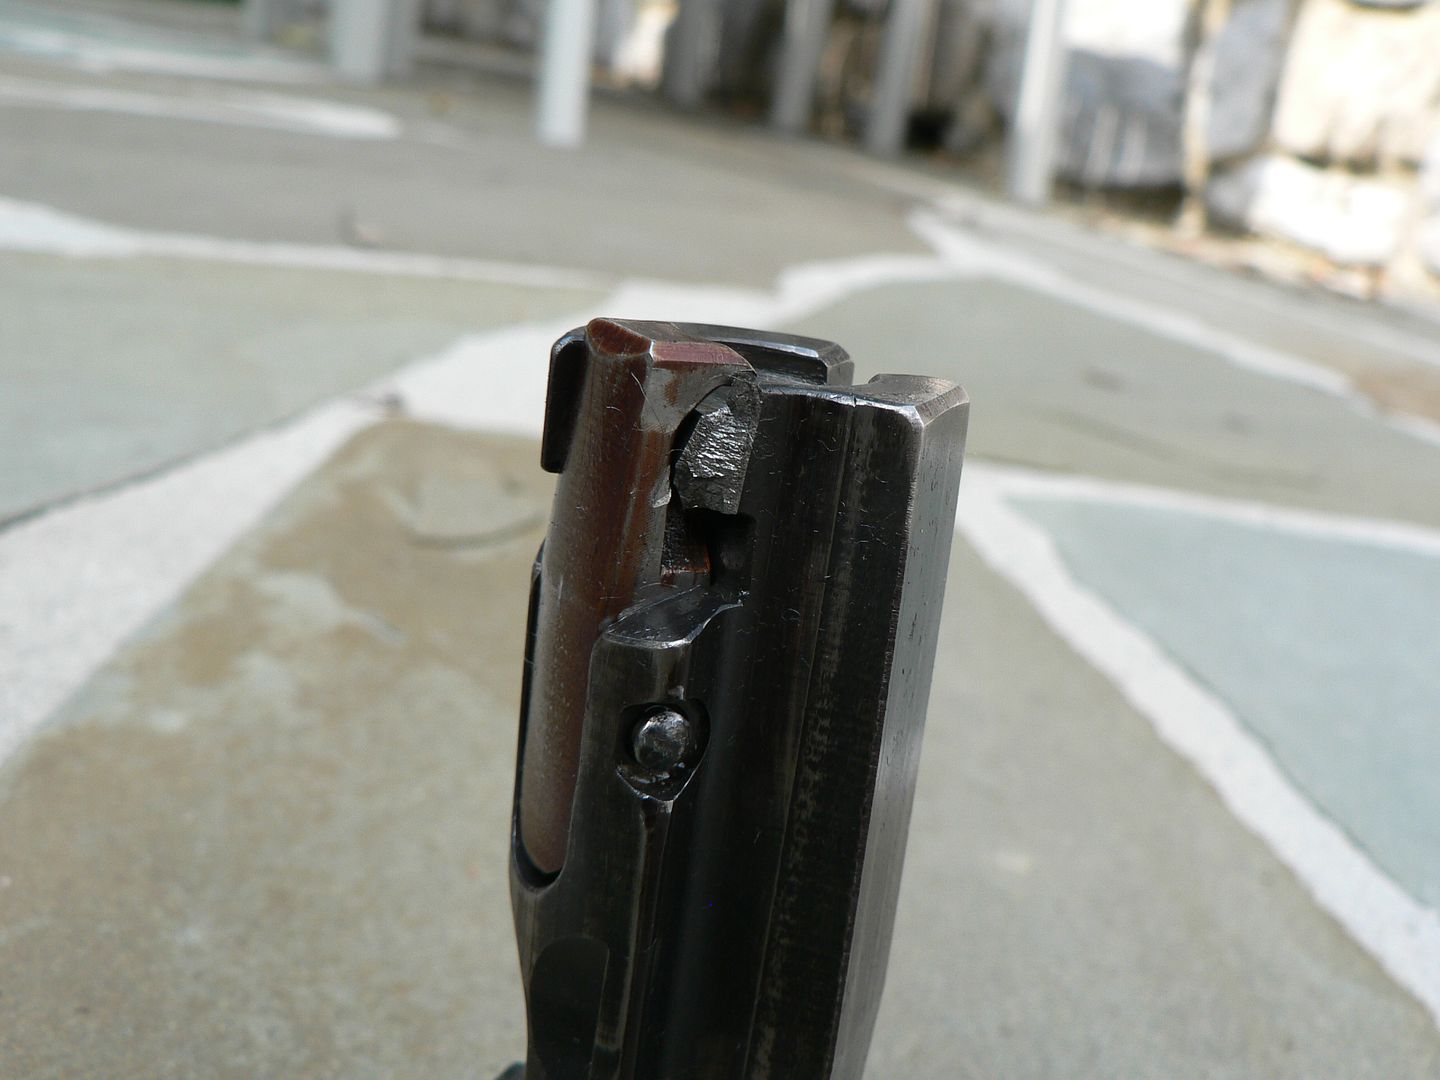
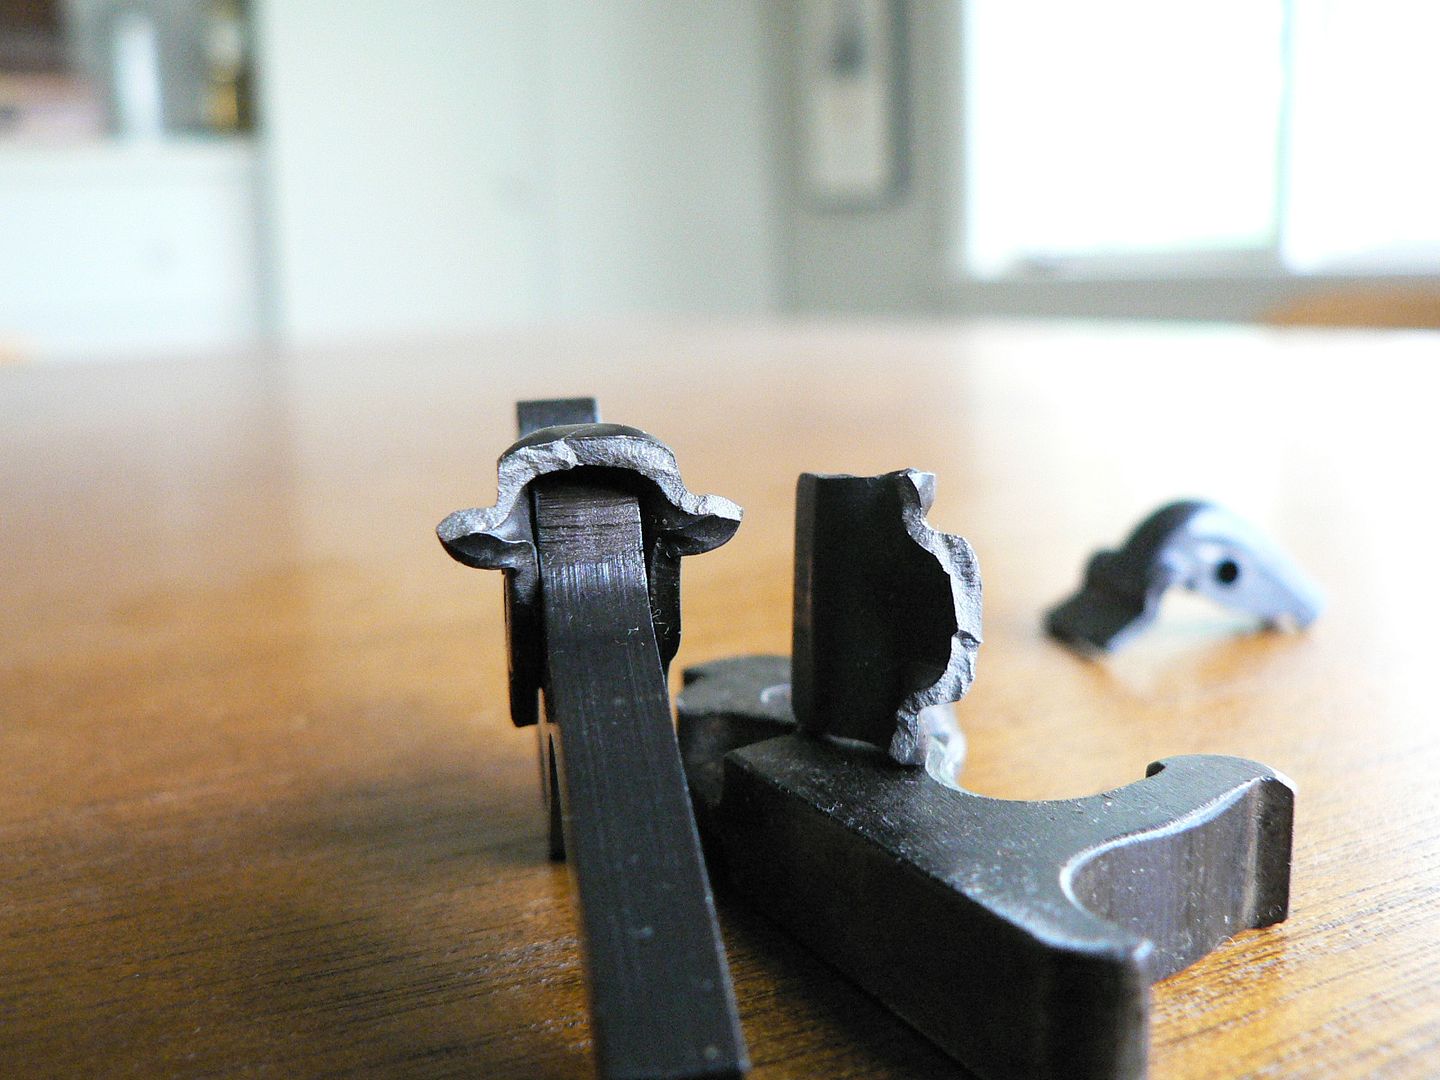
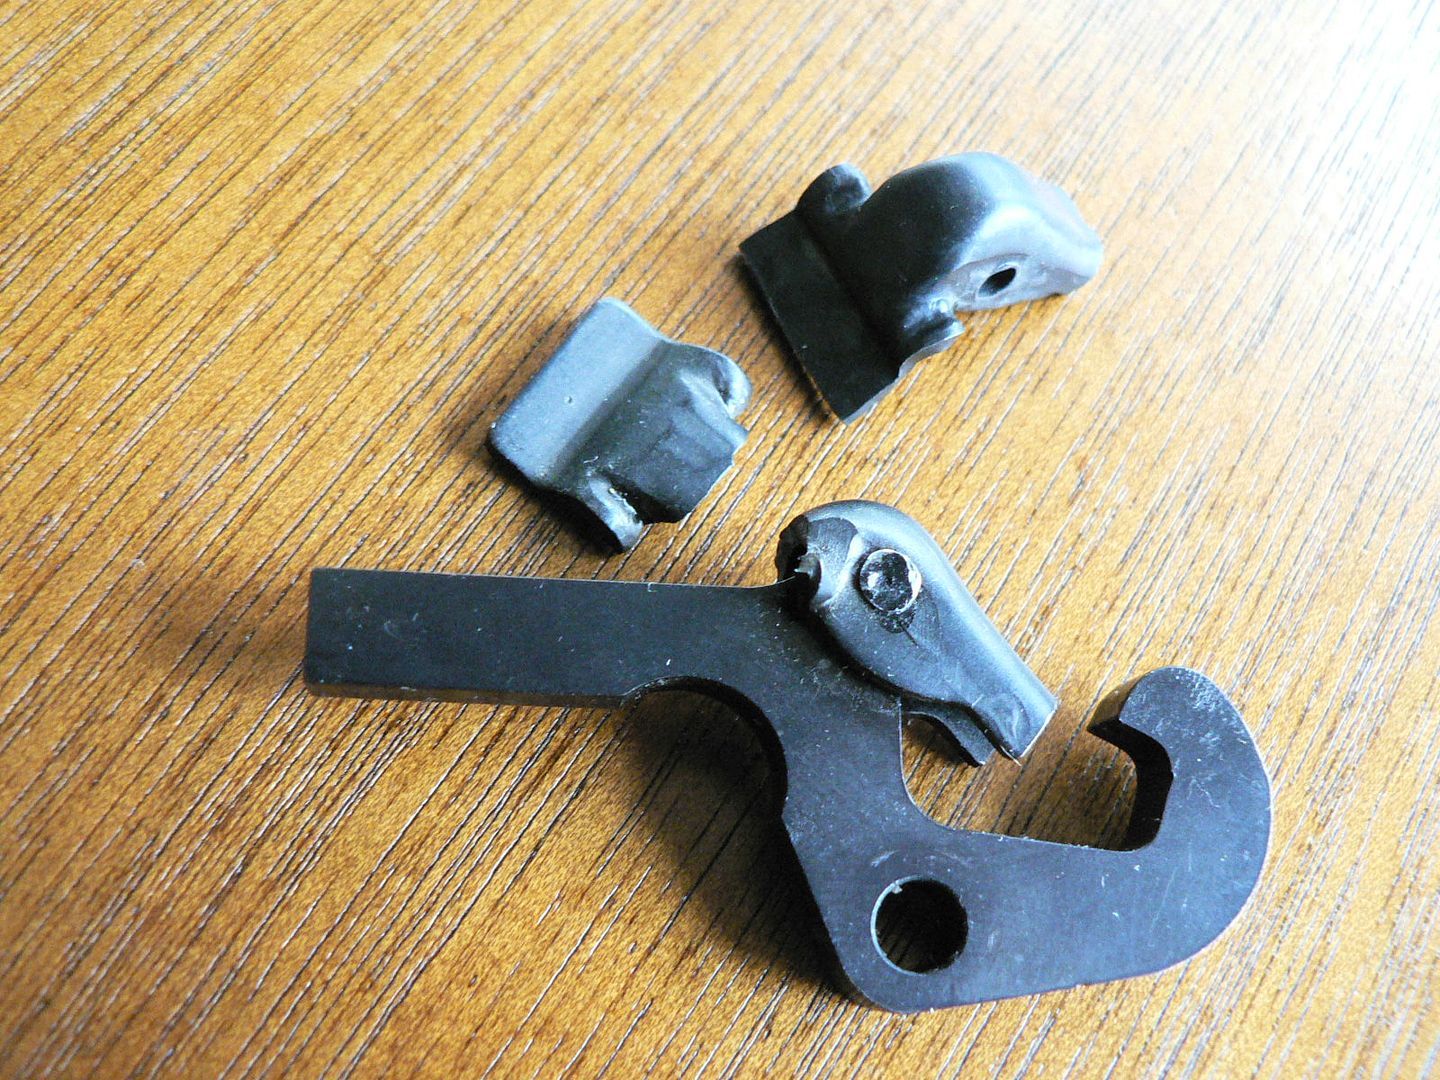
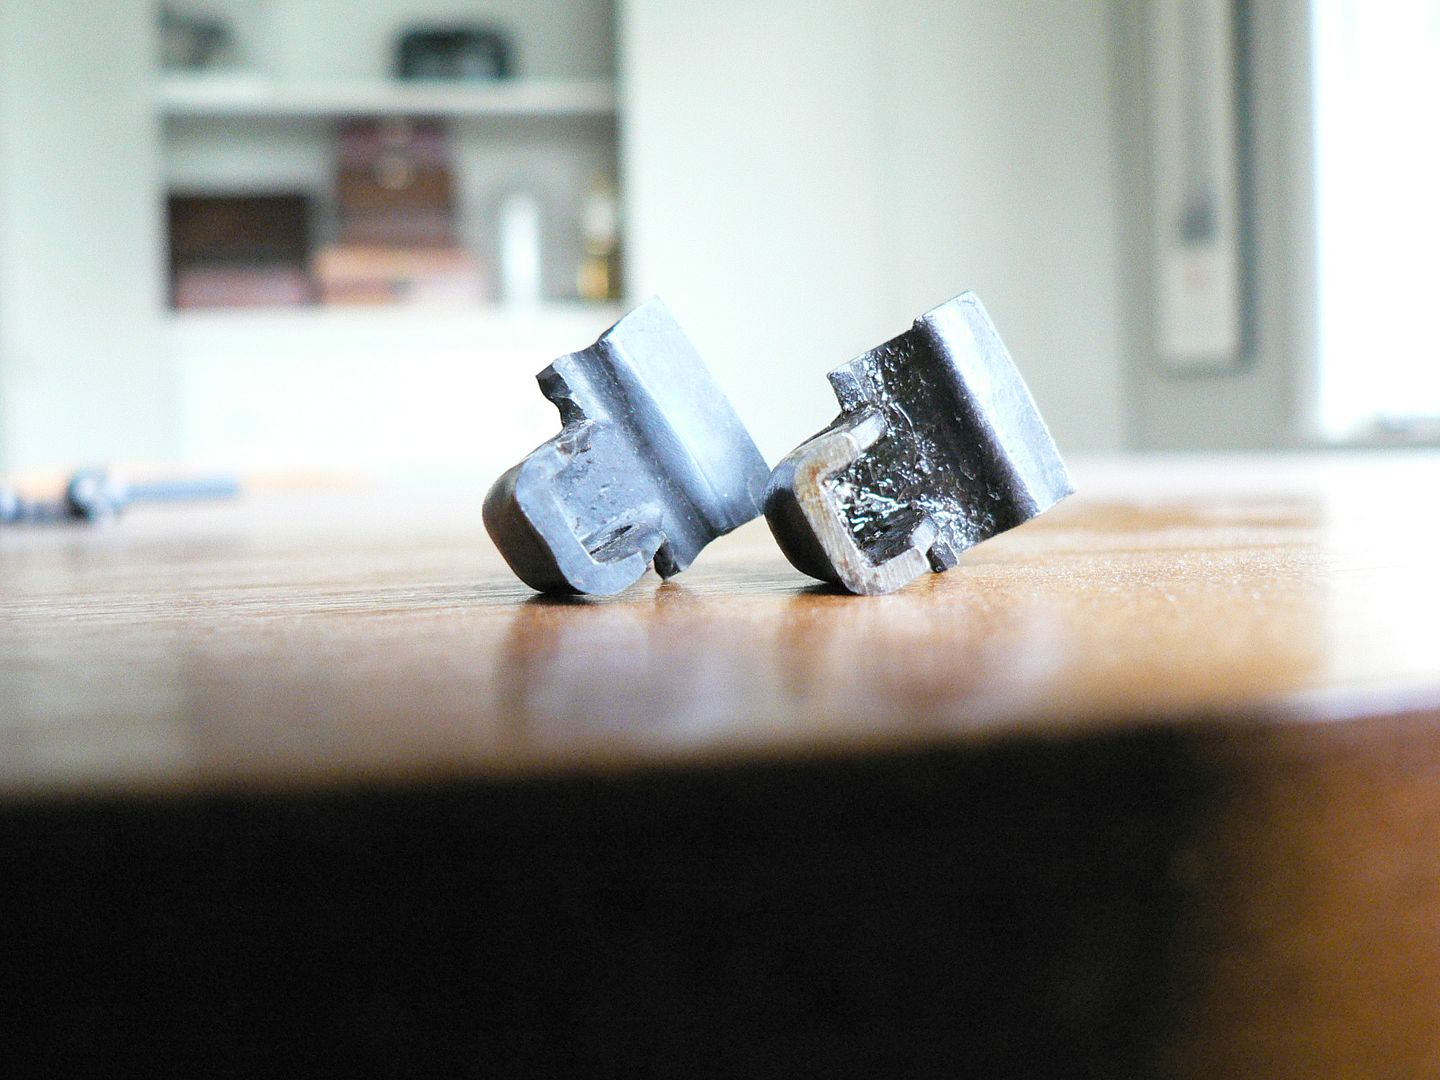
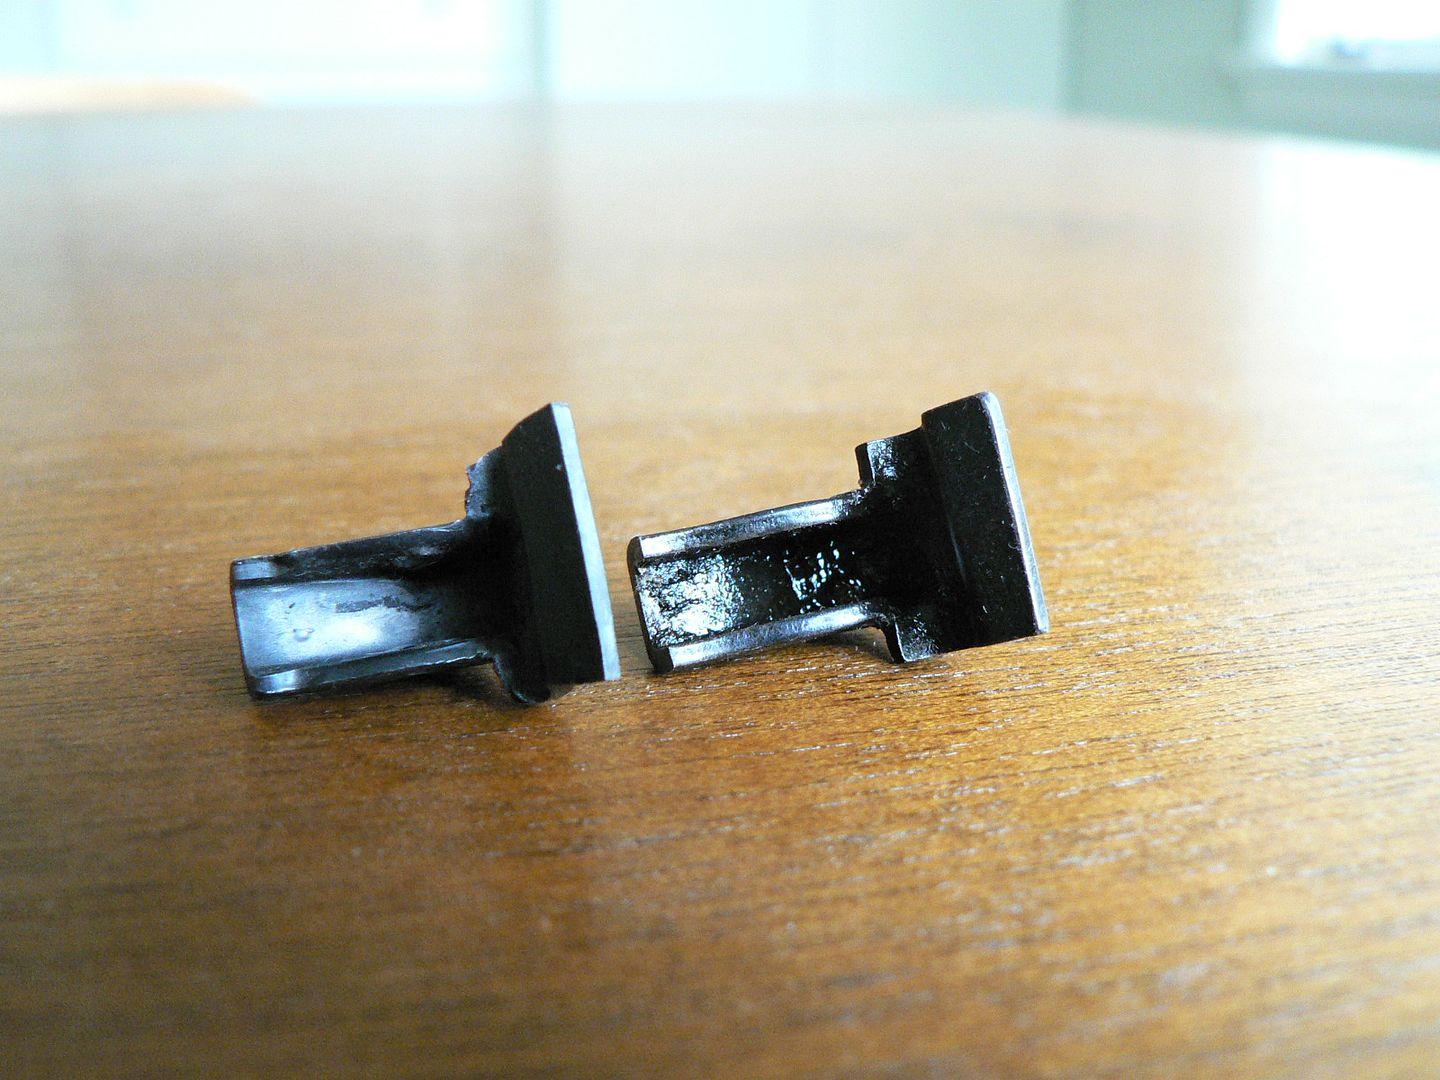
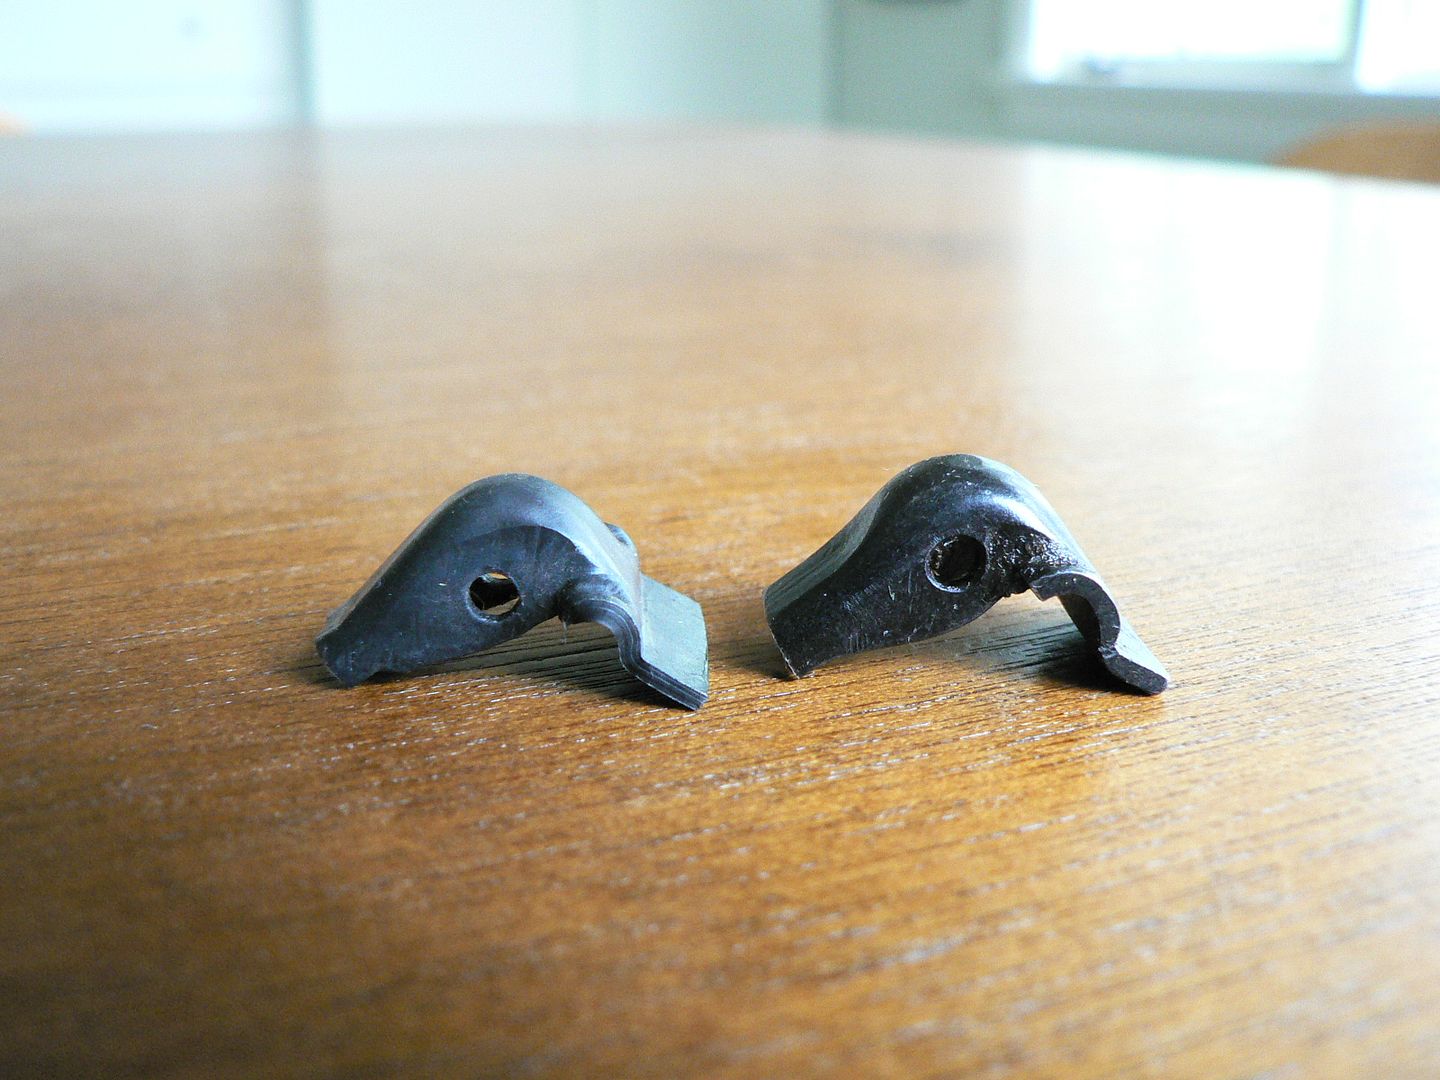
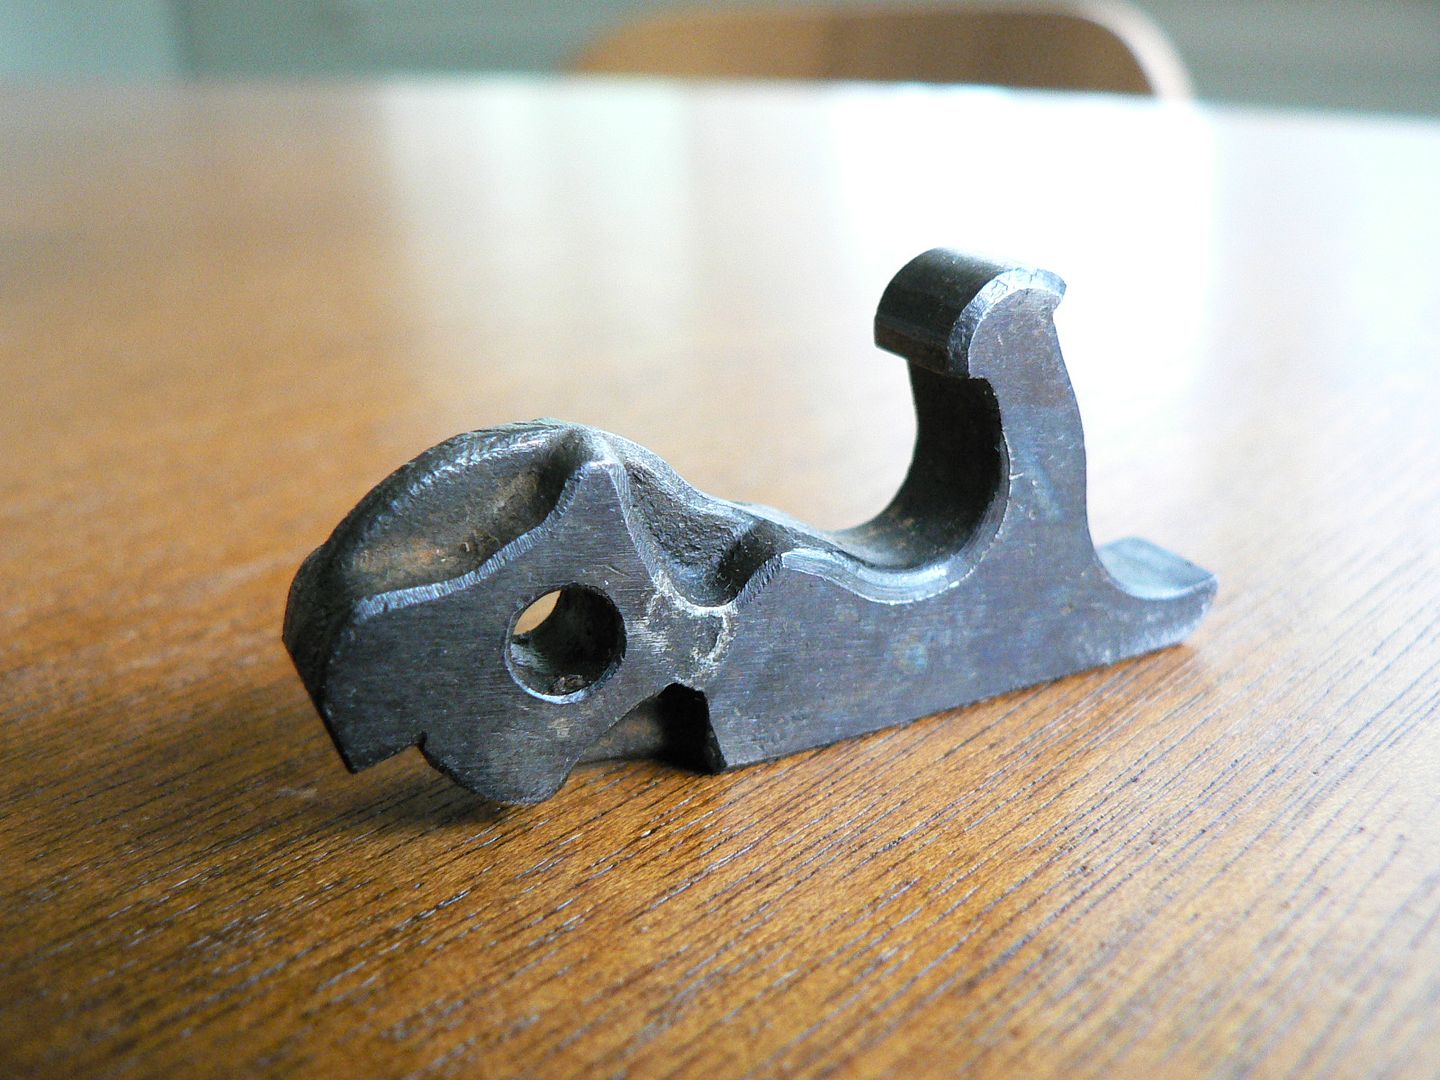
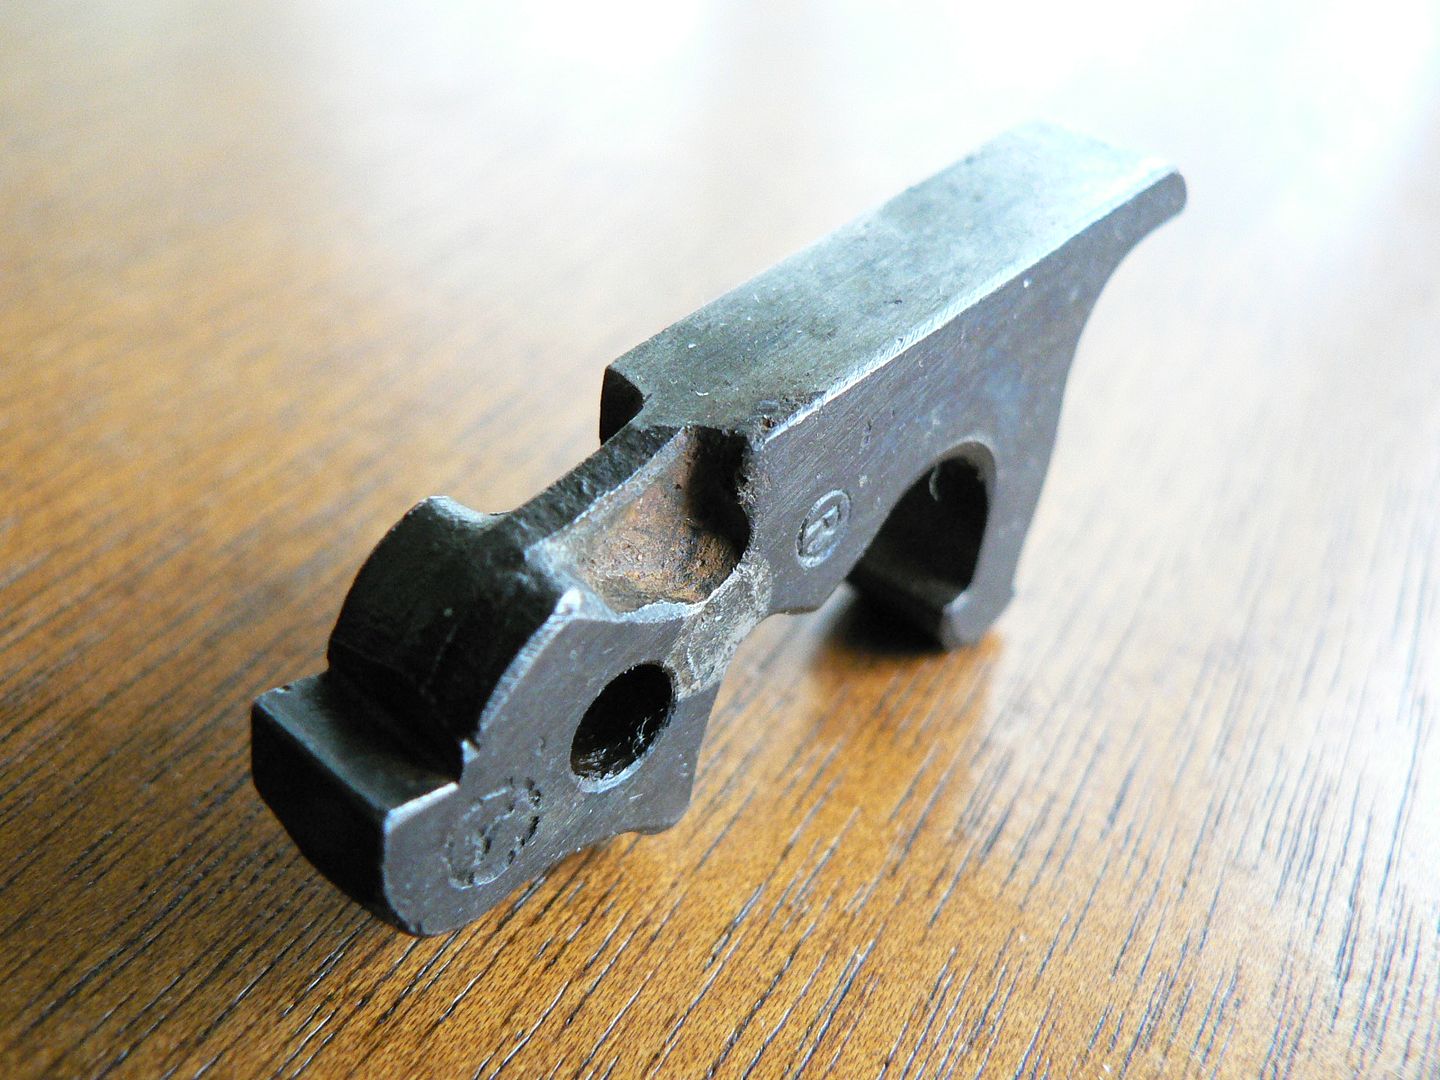
The previously discussed hammer and disconnector was installed:


.JPG?width=1920&height=1080&fit=bounds)
.JPG?width=1920&height=1080&fit=bounds)
.JPG?width=1920&height=1080&fit=bounds)
.png?width=1920&height=1080&fit=bounds)
.JPG?width=1920&height=1080&fit=bounds)
.png?width=1920&height=1080&fit=bounds)
.JPG?width=1920&height=1080&fit=bounds)

") could you tell the difference?
could you tell the difference?